

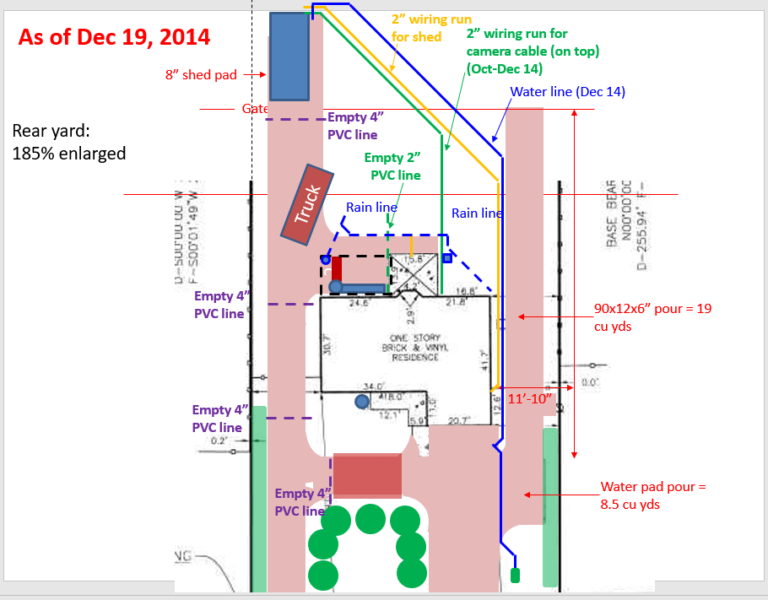
Summary: Year 1 saw the site prep and the installation of underlying infrastructure, notably the security and smart-house systems, the concrete, and the underground plumbing for the rainwater collection system.
.
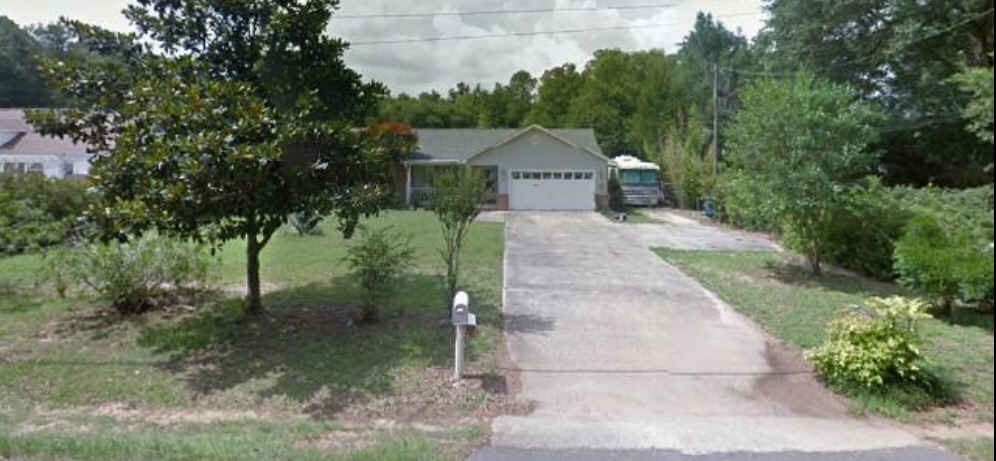
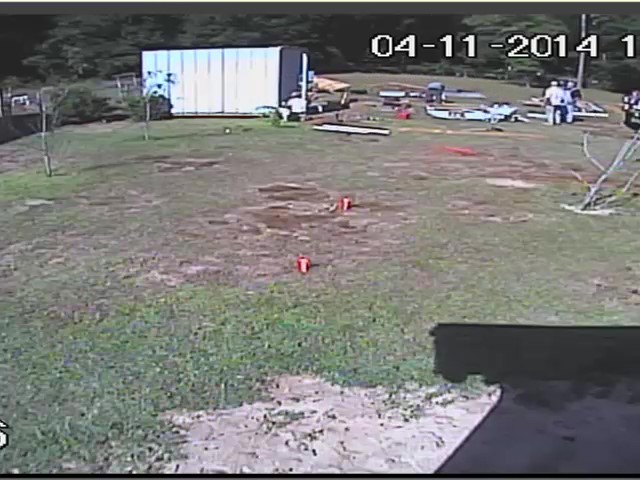
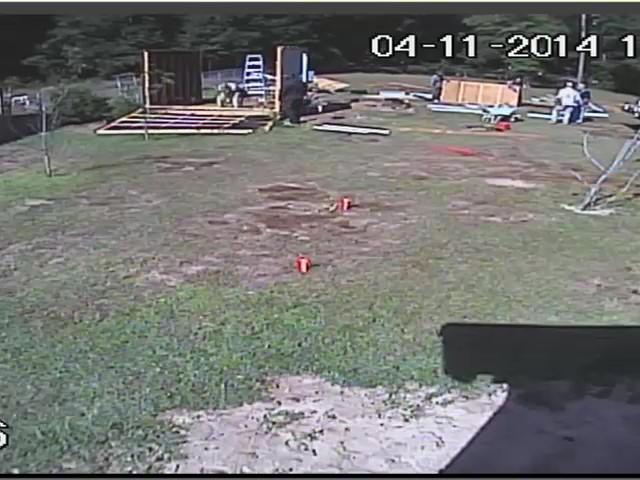
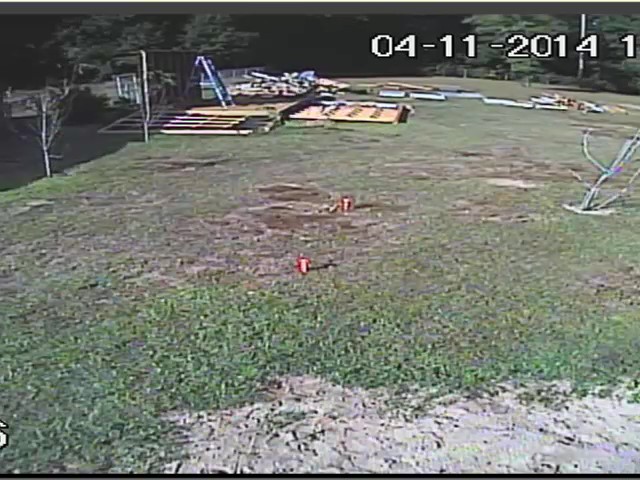
After a two-year search to identify the ideal destination (based on an ever-changing list of requirements), we downsized and moved to the Emerald coast of Florida. There, we purchased a 3-bedroom house on a half-acre lot and went to work. These photos (above and below) show the property before the modifications began.
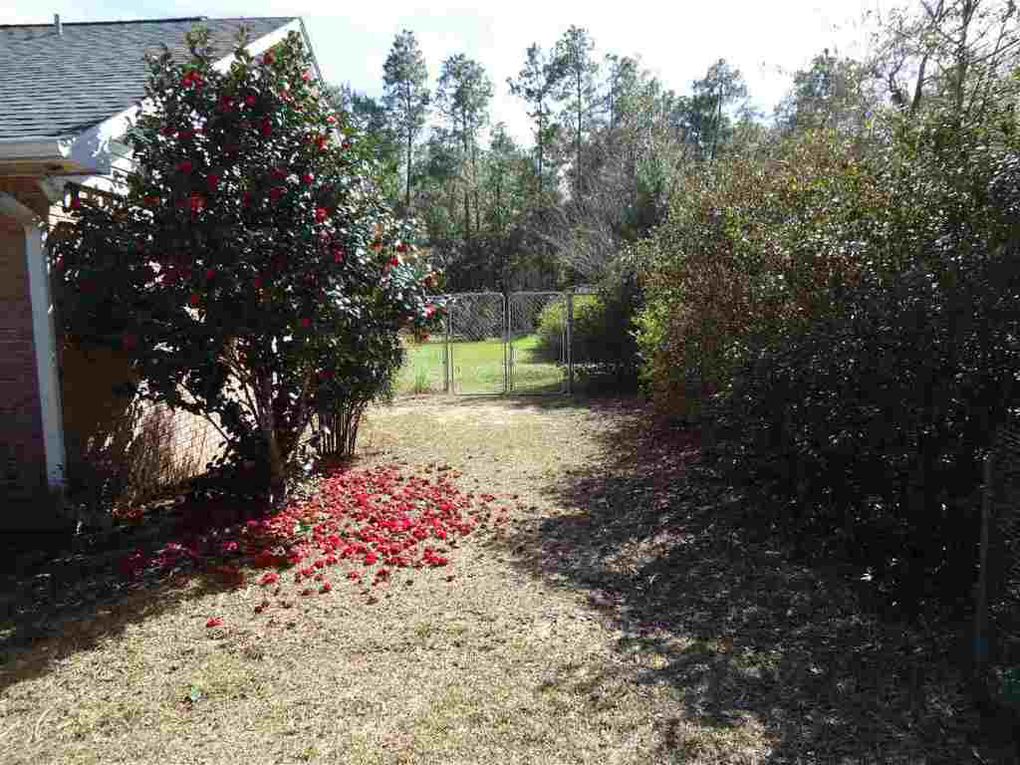
It’s fun to look back and remember how much has changed since we first set foot on this
property. Along the way, we answered the following questions:
- What’s a Barter Garden?
- Why Florida of all places?
- Can I produce income from my garden?
- Can a garden satisfy the food security needs of a family?
- What’s the best design for raised beds?
- How much did our garden cost?
- Do I need a greenhouse?
- Is hydroponics practical?
- What the heck is the miracle tree?
- What the heck is a secret sanctuary?
- Can I cash in on agritourism?
- What does the future hold for self-sufficient initiatives like EBG?
- What are the pros and cons of installing a Generac whole-house generator?
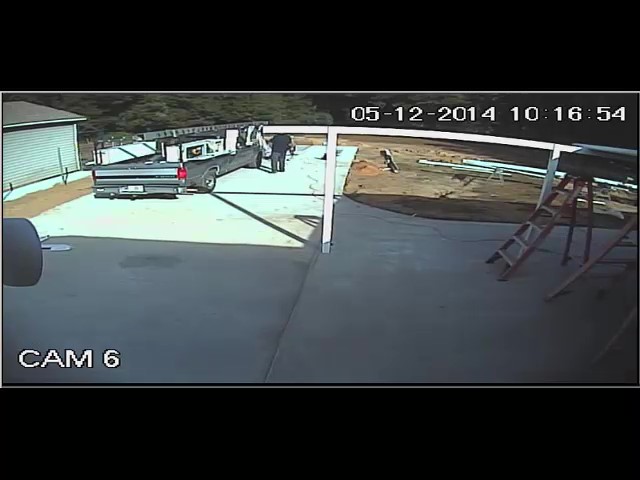
- What’s the best security equipment for a residential garden?
Ready for the answers? Jump to the Questions and Answers page.
Let’s Build it—All!
We started with a long wish list: solar, rainwater collection, security, raised beds, hydroponic tanks, patios, carport, outdoor kitchen, circular driveway, new windows, all tile floors, high-speed connected office, LED lighting, new fences, storm shelter, Generac, hurricane doors and covers, oversized AC, greenhouse, and more. Instead of picking and choosing, we decided to build them all—time and finances permitting. To save money, we decided to do as much of the work as possible by ourselves (have you tried to hire an electrician lately?). Little did we realize that everything we installed would come with unexpected complications and maintenance challenges. Thankfully, most of our initial designs provided flexible and they functioned as planned.
EBG Design Goals: Simple, Robust, Maintainable
From a design perspective, we had three goals in mind. Everything we constructed had to be
simple to build with off-the-shelf parts, robust and durable in function, and easy to maintain.
About Redundant Systems add Layers of Complexity
Self-reliance is based on redundant systems. If the power grid fails, we (automatically) switch to Generac for electric power. If the city turns off the gas to the Generac (in response to flooding), we switch to portable solar and gasoline generators. Each of these redundant systems (Generac, solar generator, gas generator) must be constructed, maintained, protected, and documented (for maintenance and insurance purposes). Each redundancy adds a layer of unexpected complexity, as well as a skills requirement that may fall outside our individual abilities.
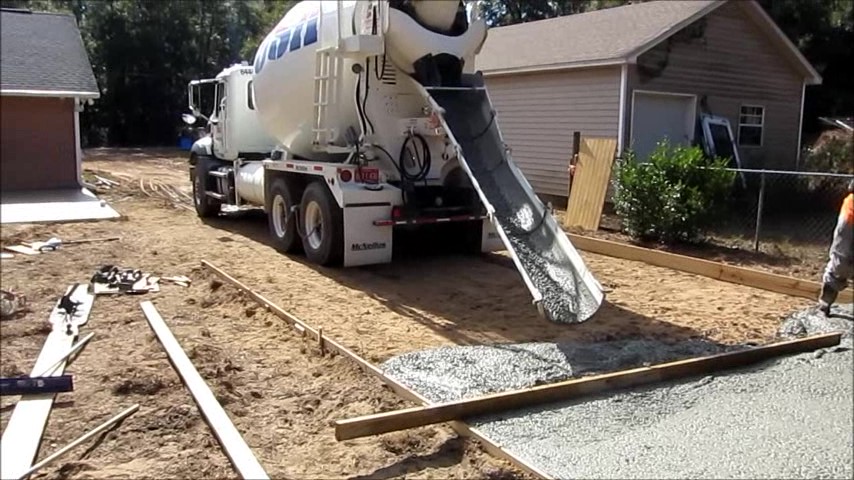
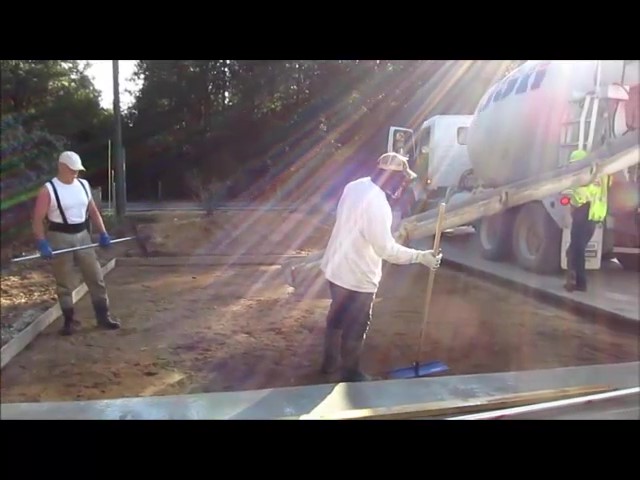
Movie Feature: Breaking Ground 102414


Preparing the cable tunnel for the Generac installation (above left). Click this link to watch Breaking Ground, a 44-minute movie of the EBG concrete pours! Tip: Don’t miss Sam’s jackhammer action at 34:00.
Shed Removal 110514
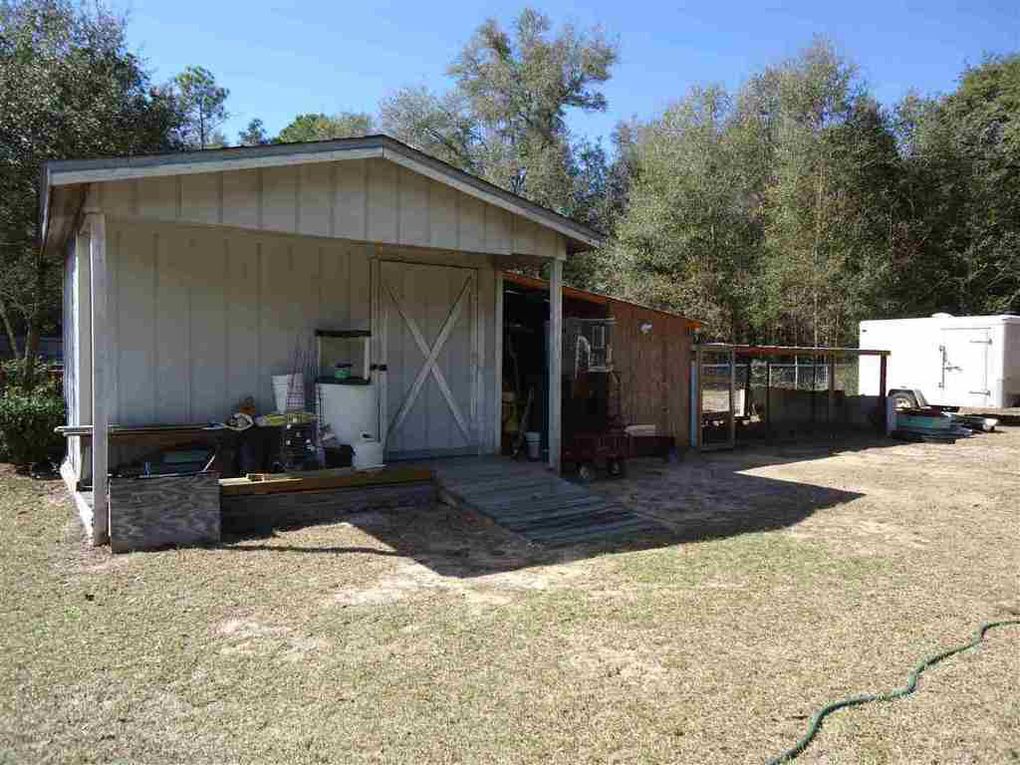
Before we could get started with the construction, we needed to remove or relocate the plants and structures that were standing in the way of progress, and then we had to prepare the land itself.
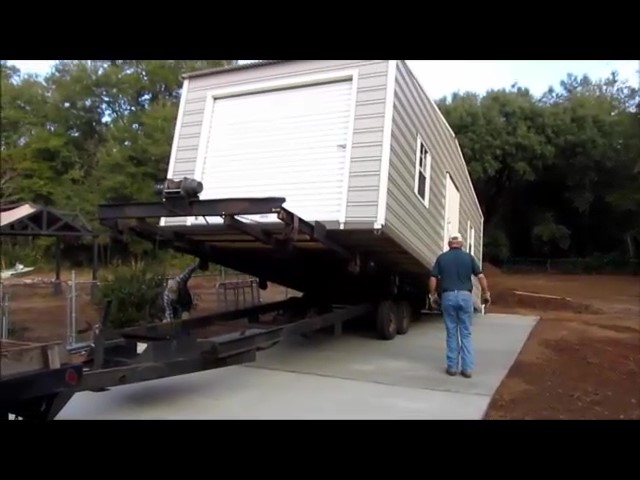
What can you do with an old shed? Good question. We decided to give it away. So, how do you move an old shed? Answer: One wall at a time, as shown in the photos above.
Bobcat Work 111314
One item we almost overlooked was the grading that would be needed to level the lot and channel rainwater runoff away from the house. Although a minor task by any standard, several days of Bobcat work were needed to get it right, followed by many days of hand shoveling to move large piles of sand from one place to another.
(One of) My Biggest Mistakes
No matter how hard I try, I have a habit of putting “things” in the wrong place. For example, during grading, I piled sand in the wrong place. When I dug the trenches, I dug them in the wrong place (not by much, but just enough to require a “do-over”). When the greenhouse arrived, I put it in the wrong place. Needless to say, it took a lot of work (mostly hand shoveling) to move those piles and trenches (and greenhouse too). Moving a hole in the ground (from one place to another) is a simple proposition—but it takes lots of hard work. Luckily, the concrete was poured in the correct location!
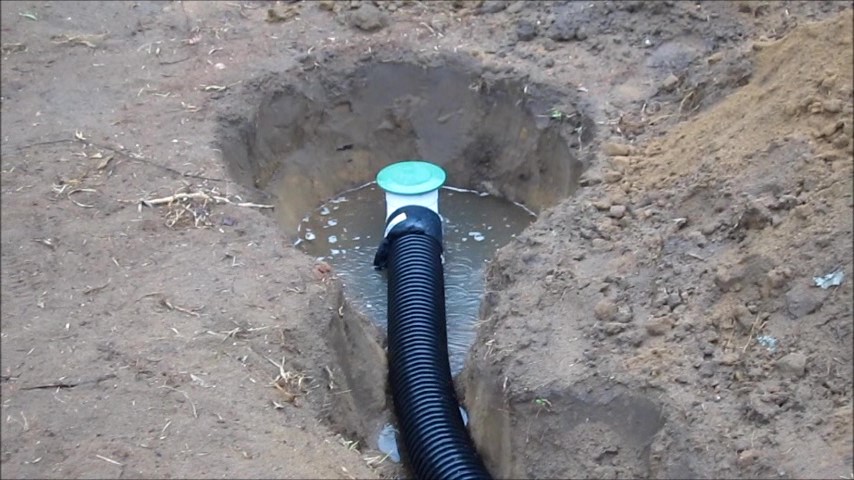
Where the heck is that septic tank?
Documenting the placement of structures on the property, such as the septic tank (above) can save lots of trouble later.
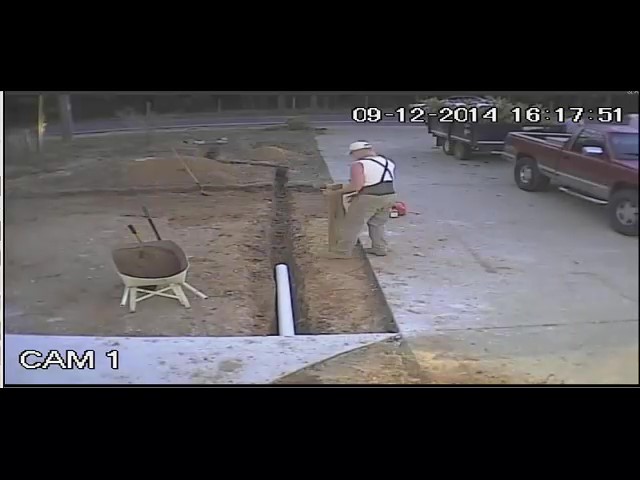
Preparing Conduit Runs 111914
Preparing a conduit run for the future hydroponic tanks (above).
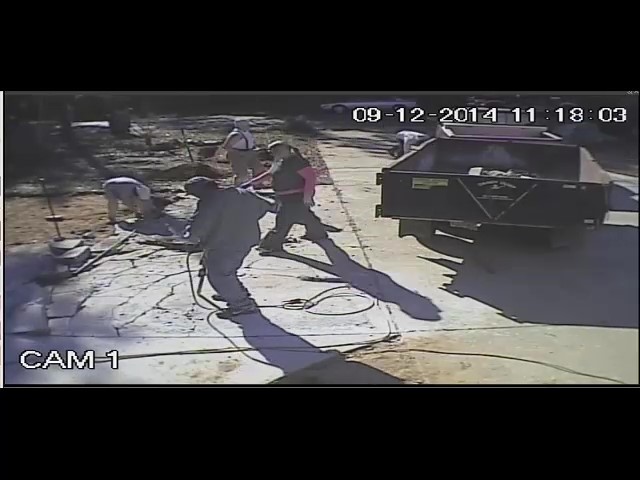
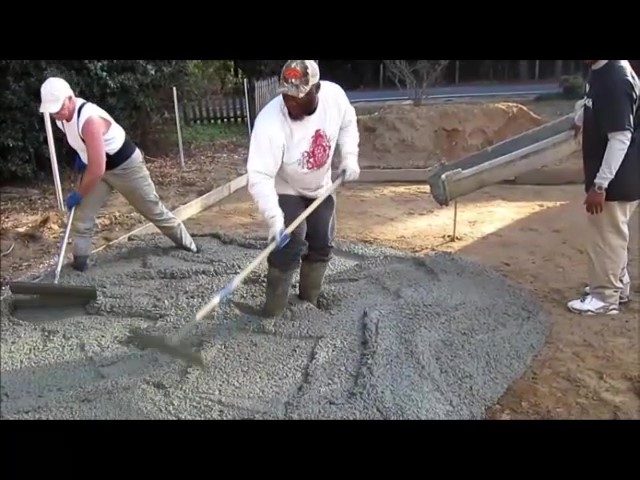
Rear Patio and Shed Pad Pour 112014
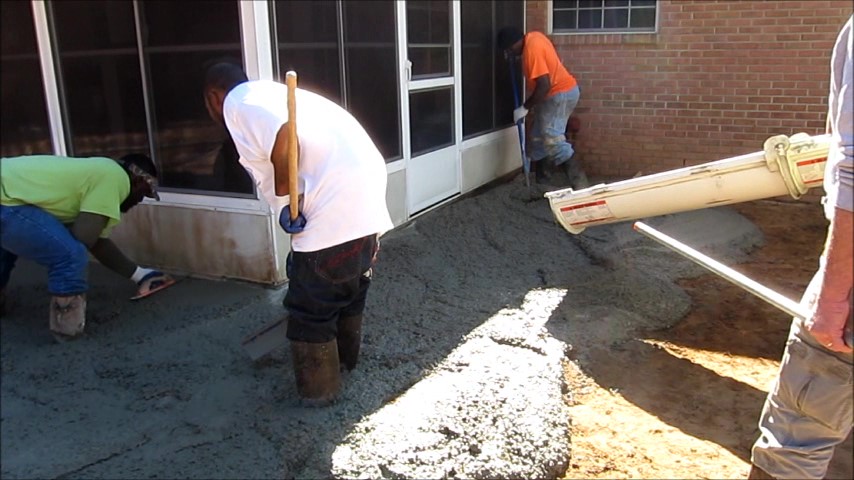
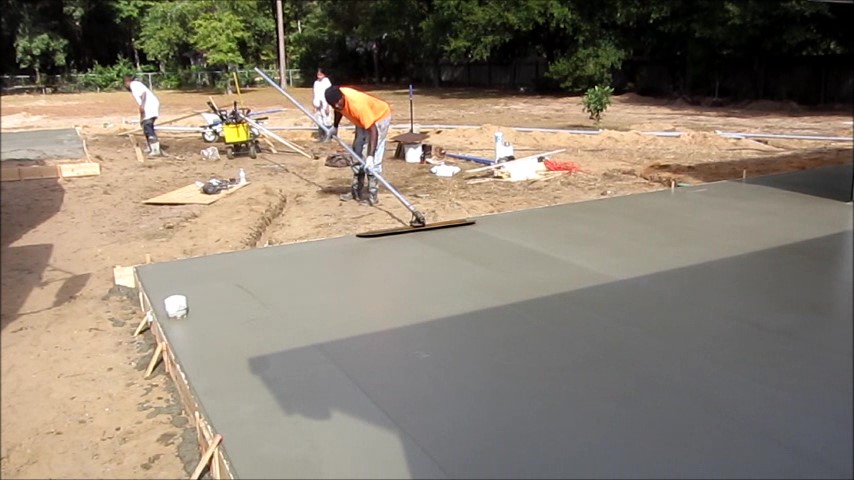
No matter how you look at it, concrete is hard work that is best left to young and strong.
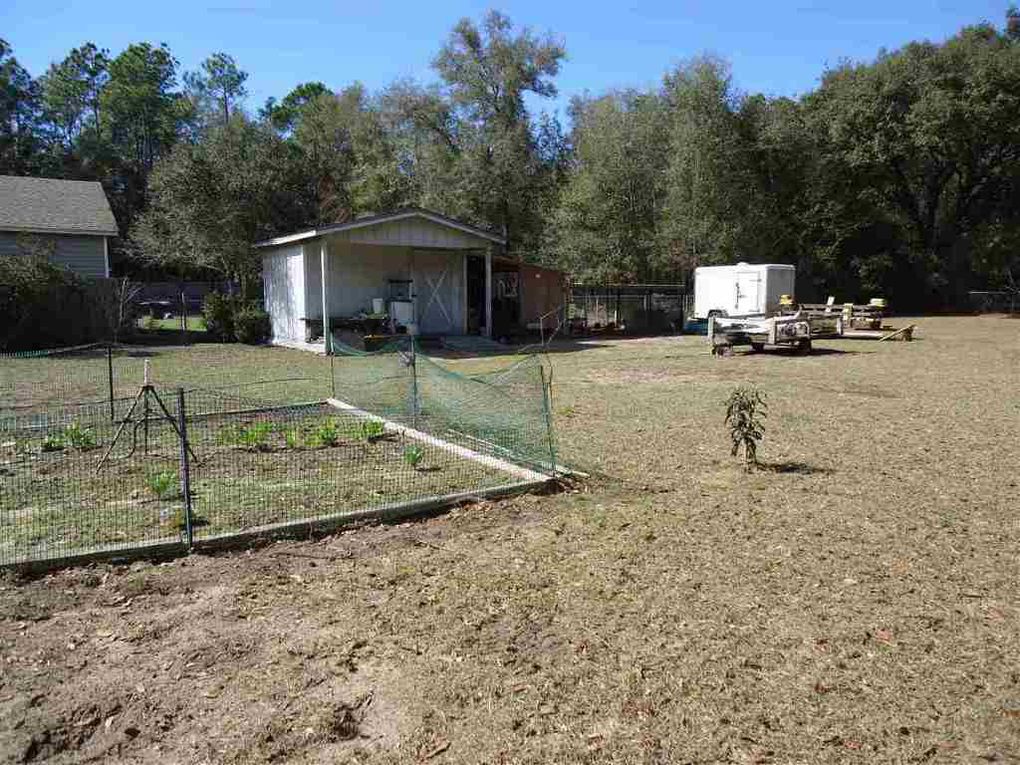
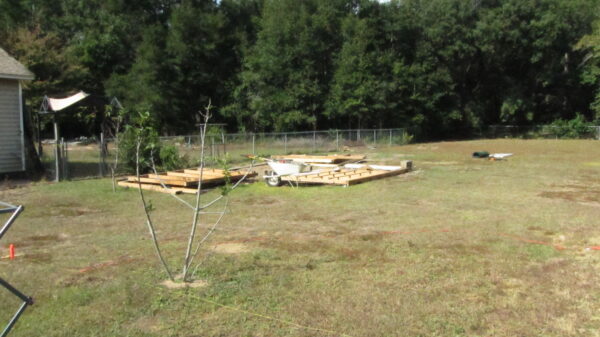
Front Grading 112114

The lot looks very different (and the house looks small) with the landscaping and outbuildings removed (above).
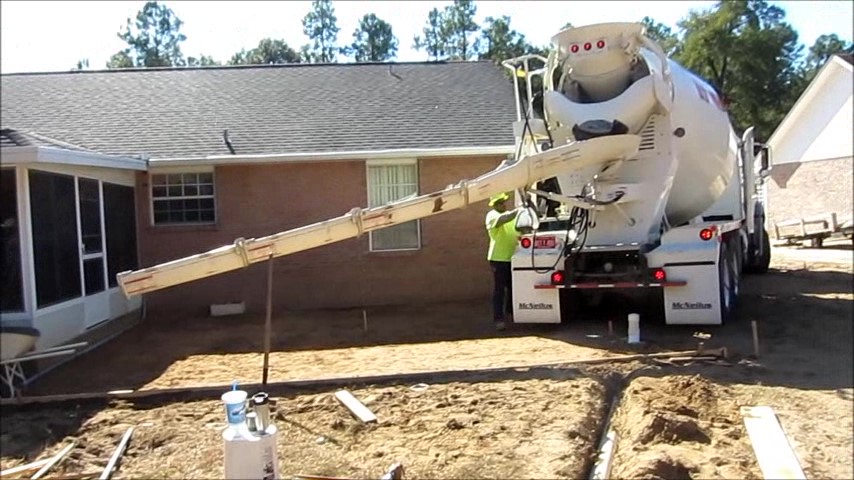
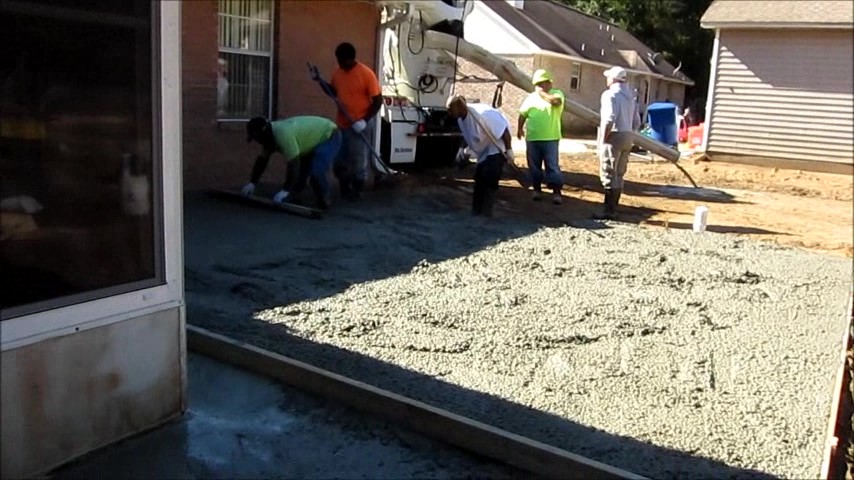
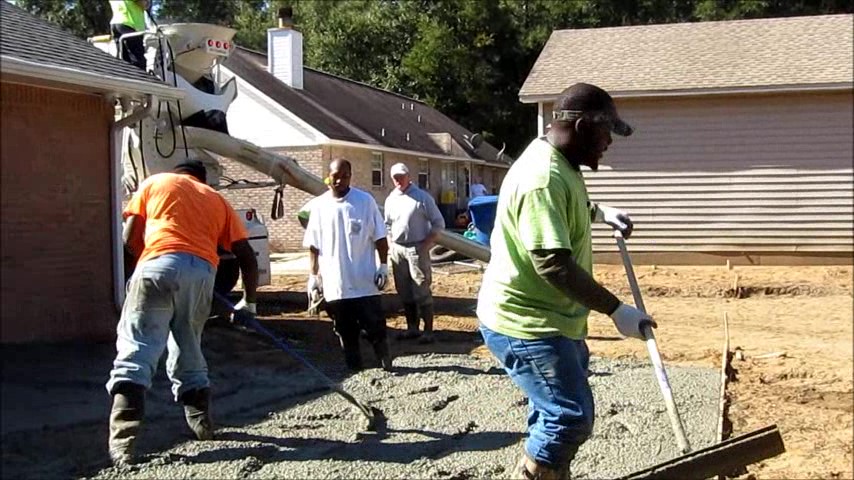
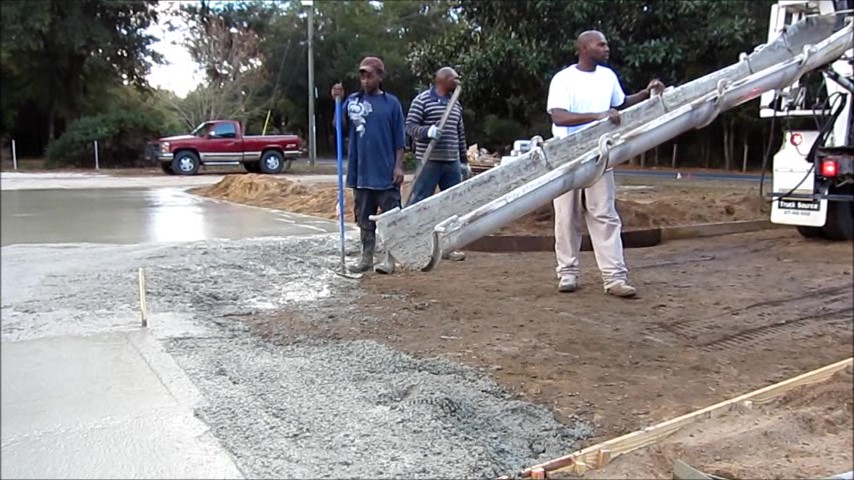
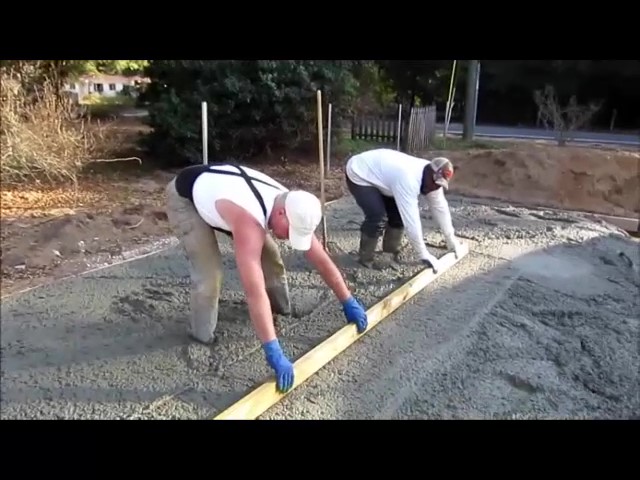
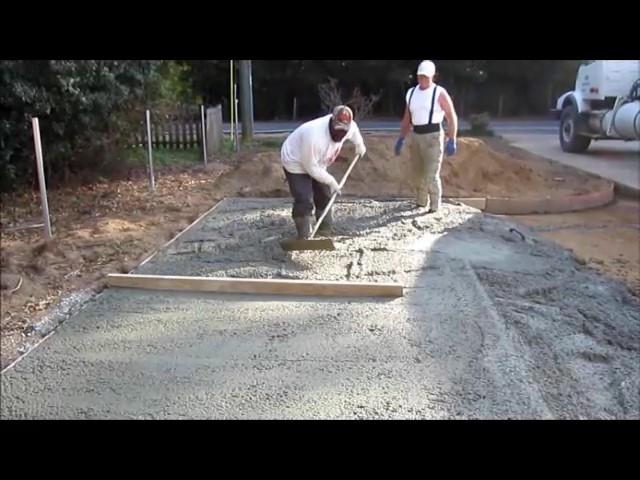
The Longest Day (Poured 17 yards) 120214
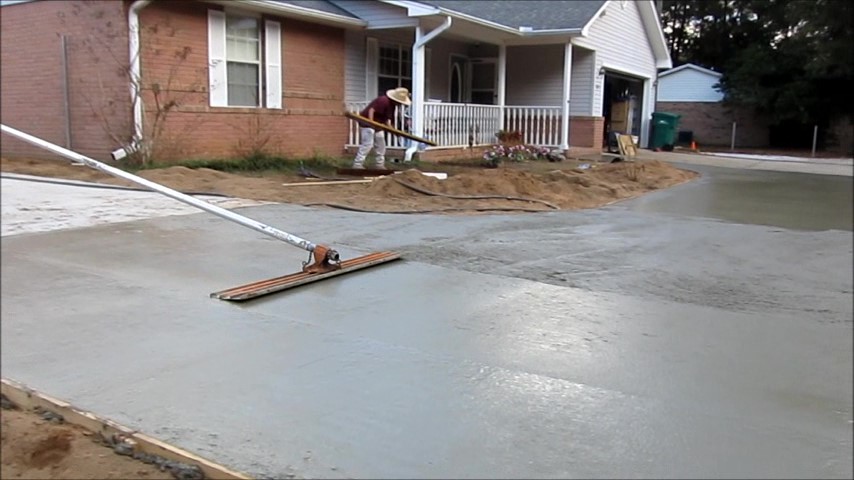
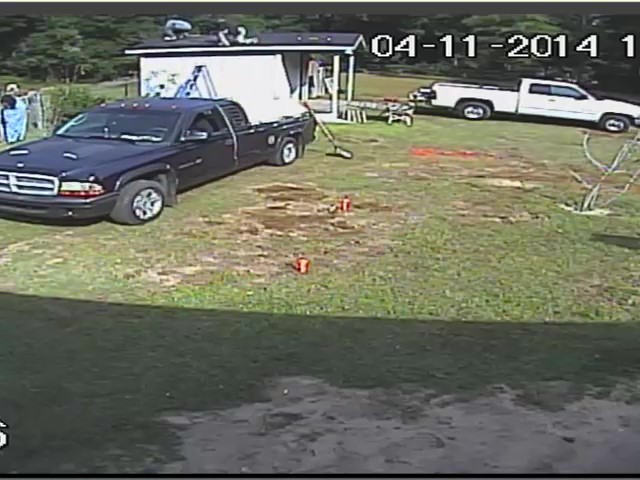
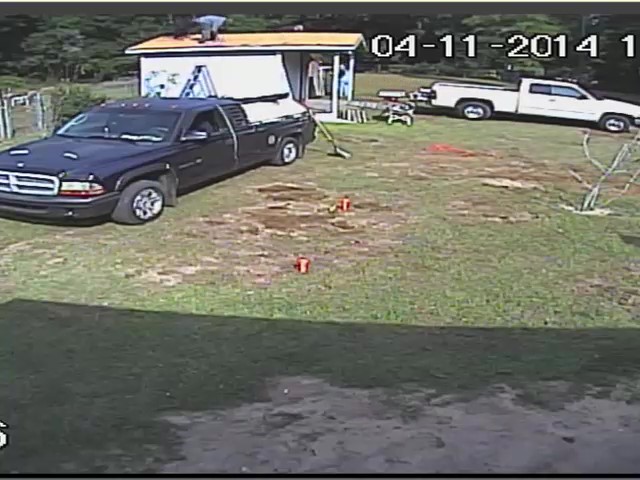
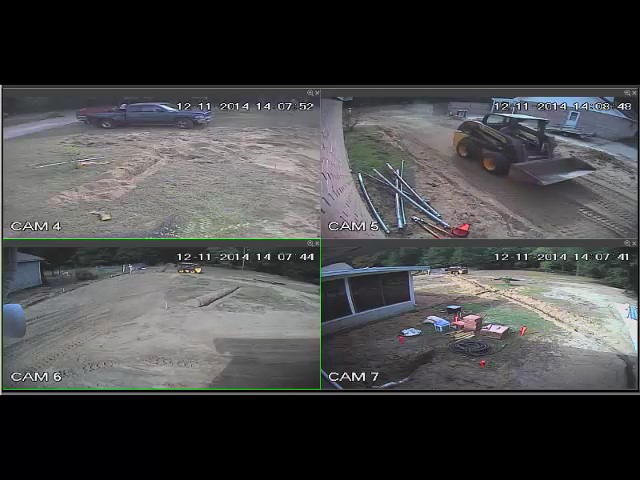
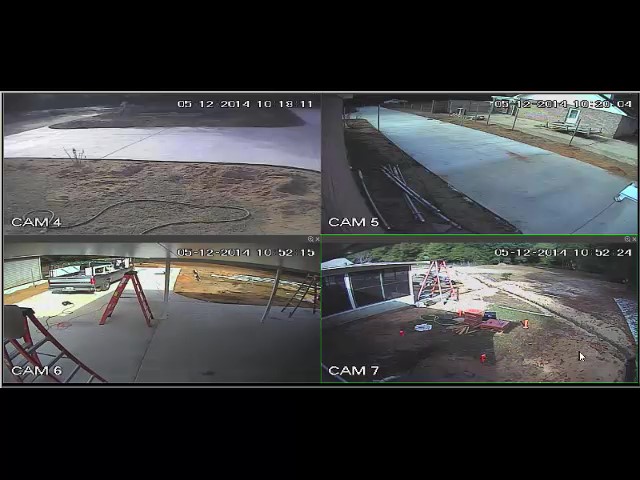
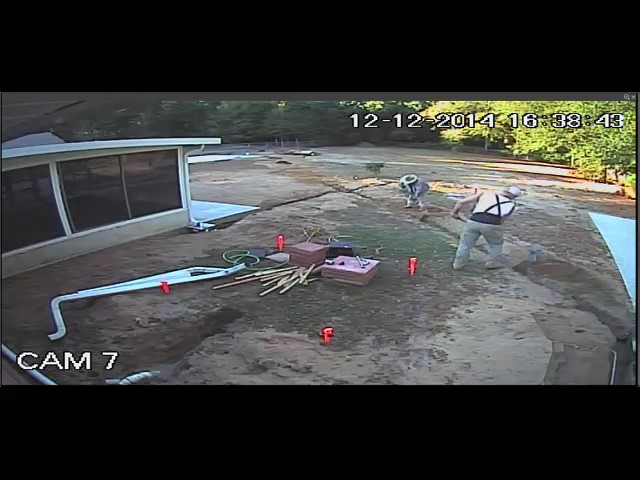
Stinky Joe Monitors the Cameras
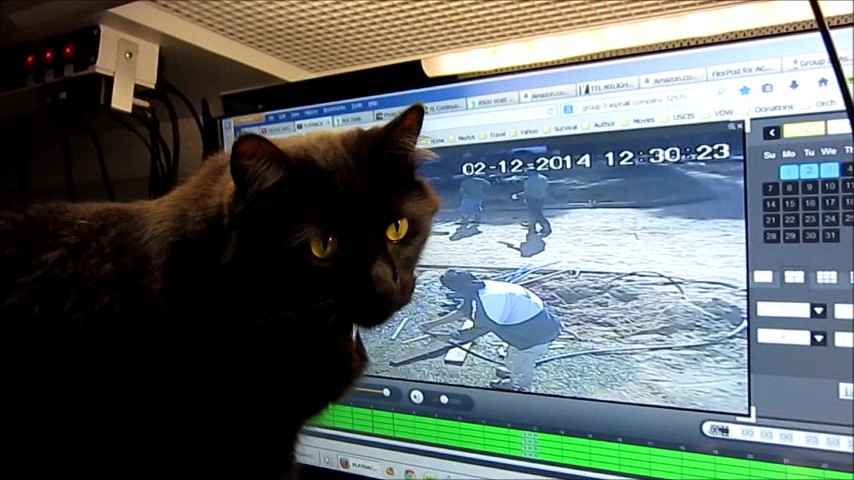
Stinky Joe monitors our progress from the office.
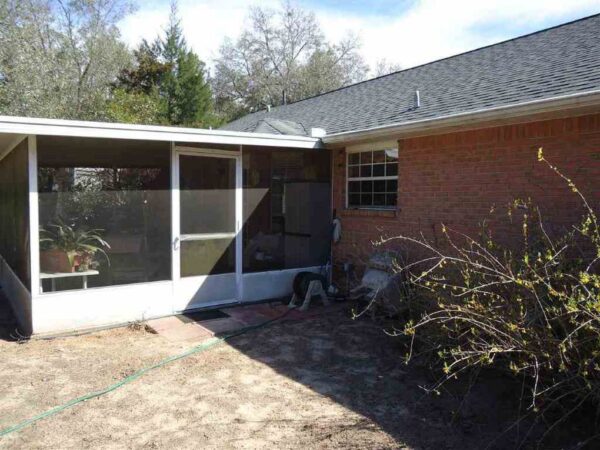
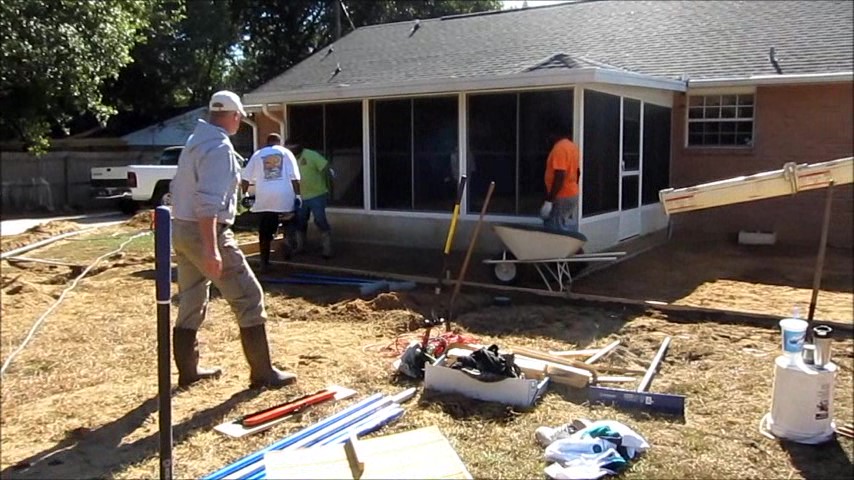
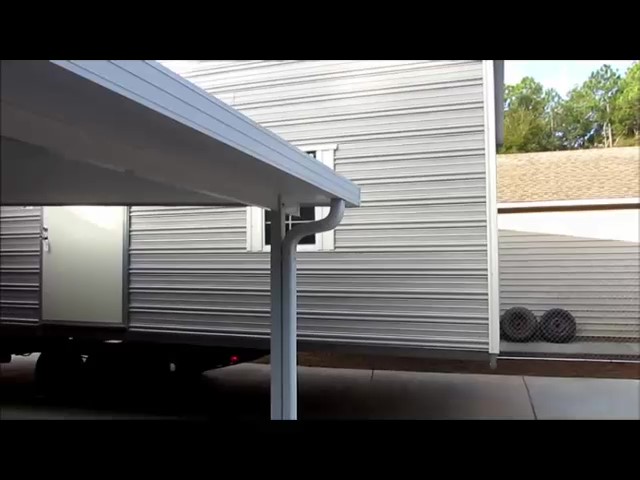
Rear Awning Installation 120514
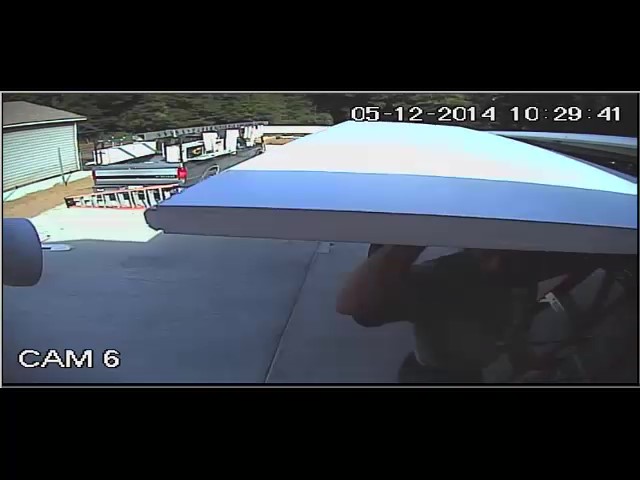
The rear patio awning (above) was installed by Birite Aluminum (now Birite Enclosures of Pensacola). They did a terrific job at a reasonable price. We liked the quality of their work (and materials) so much that we asked them to design and construct a custom carport and front patio cover. The carport would protect our vehicle (and Southern exposure of the house) from the ravages of the hot summer sun. The front patio cover was designed with a cutout (shown later) that allows the Winter sun to reach the plants on the front porch—at least for part of the day.
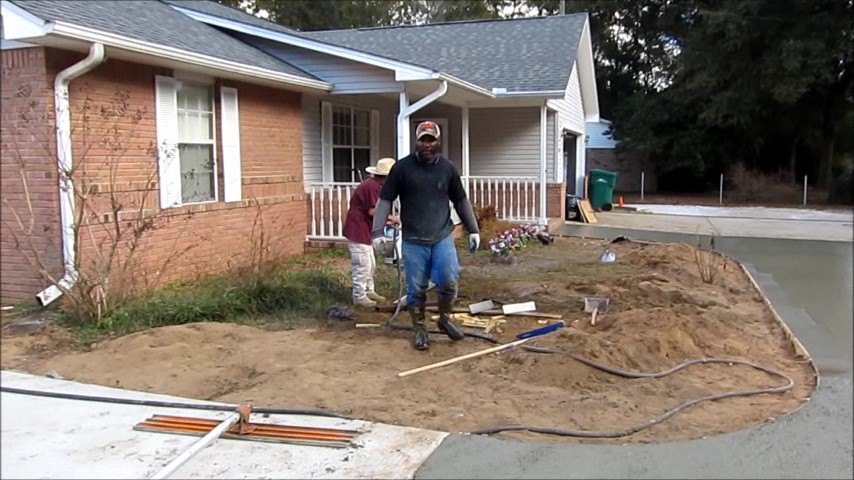
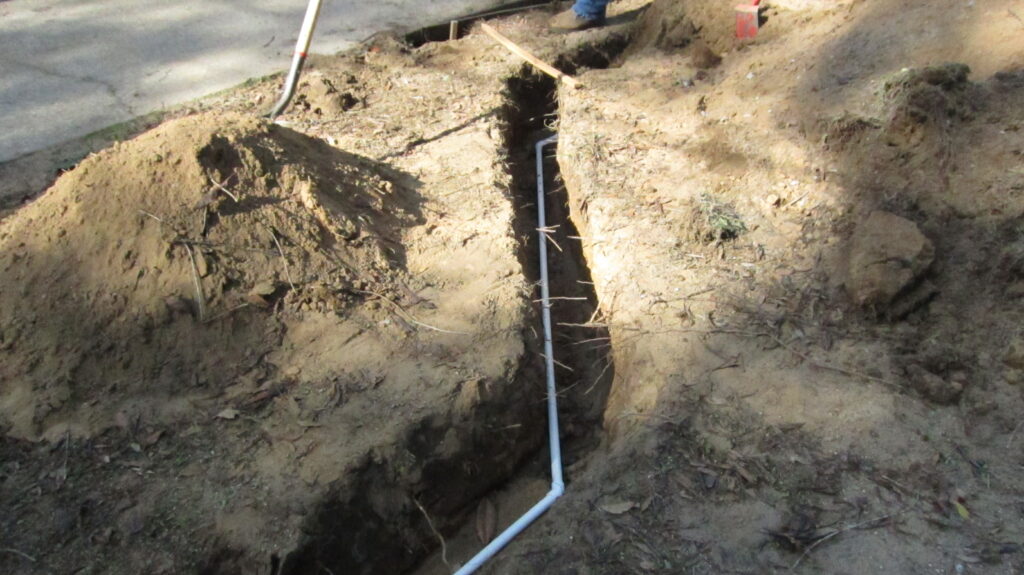
Concrete Removal and Trenching 120914
A cracked and broken wing of the driveway was removed with a jackhammer (above), the area trenched for a new water service line, and then new concrete was poured to finish the job.
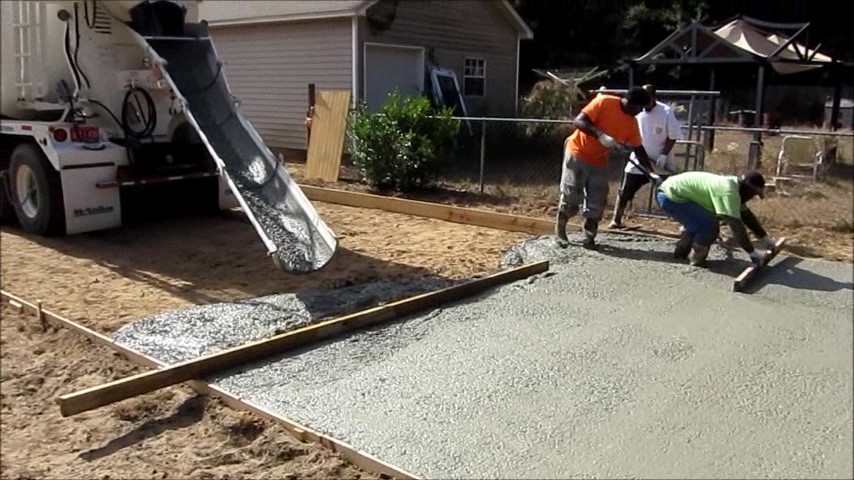
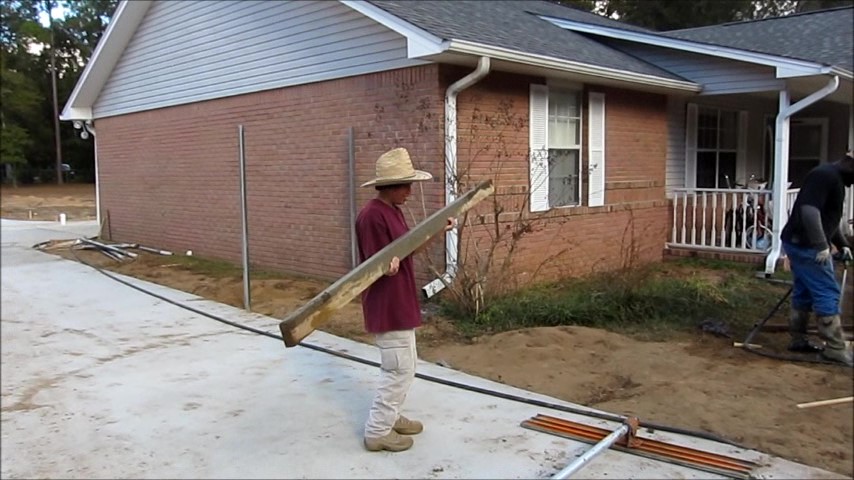
The Final Pour 121014
A cracked and broken wing of the driveway was removed with a jackhammer (above). The truck arrived at sunset. The final pour was finished by moonlight.
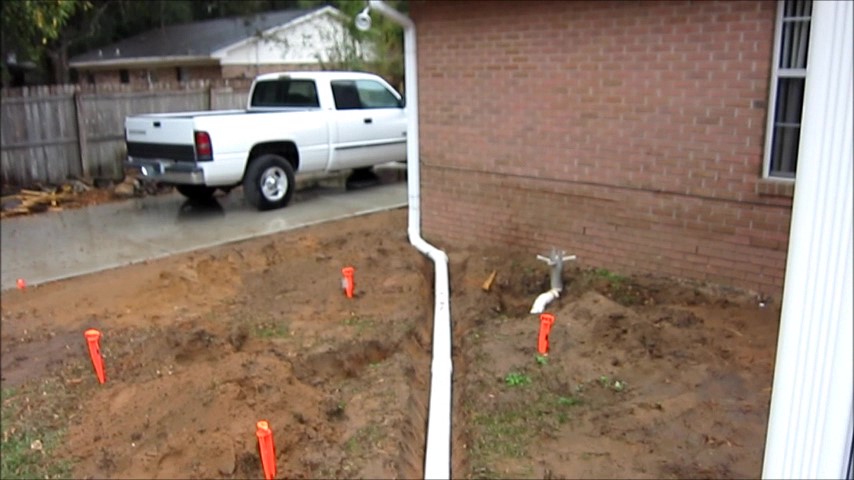
New Waterlines 121014
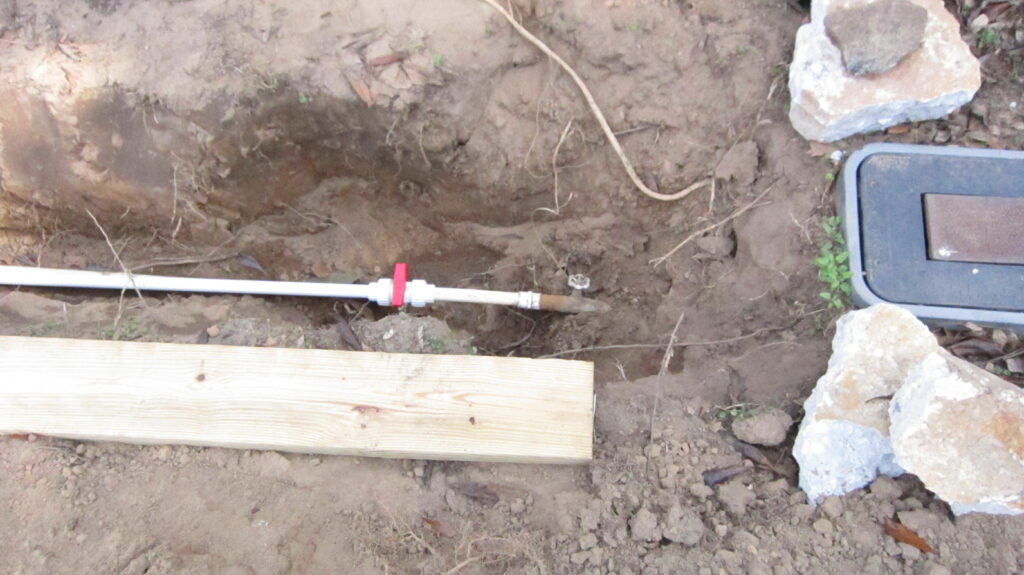
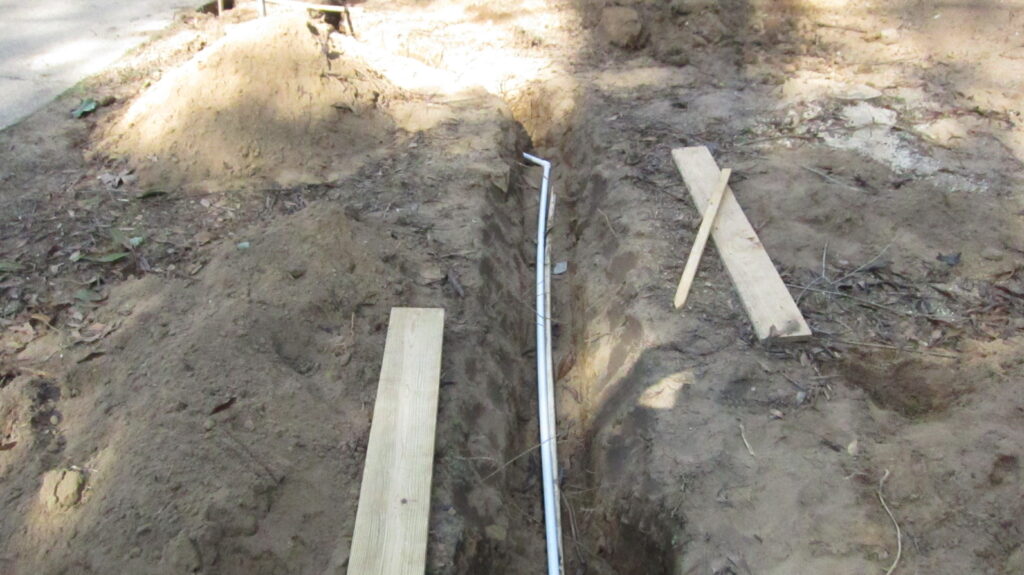
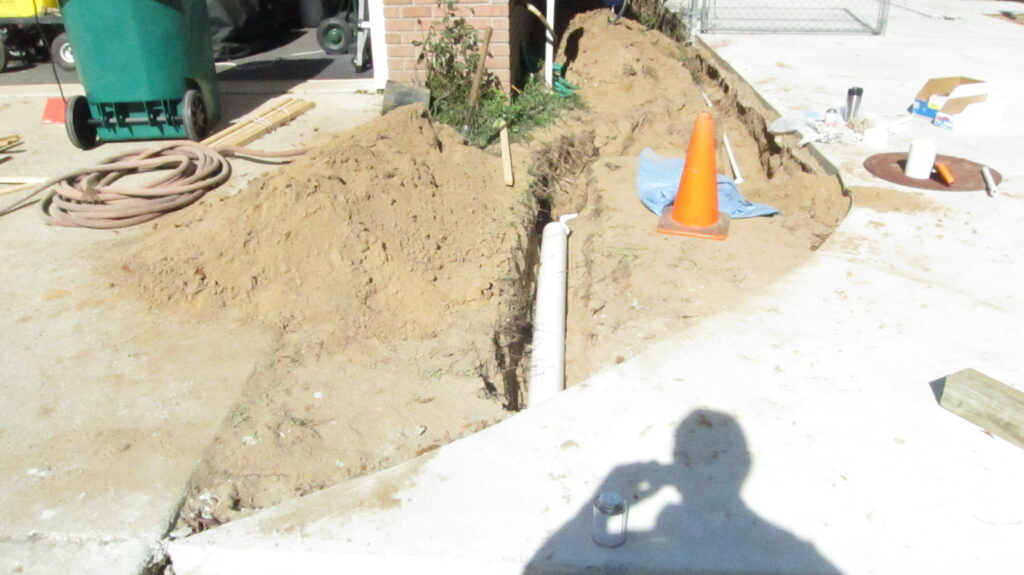
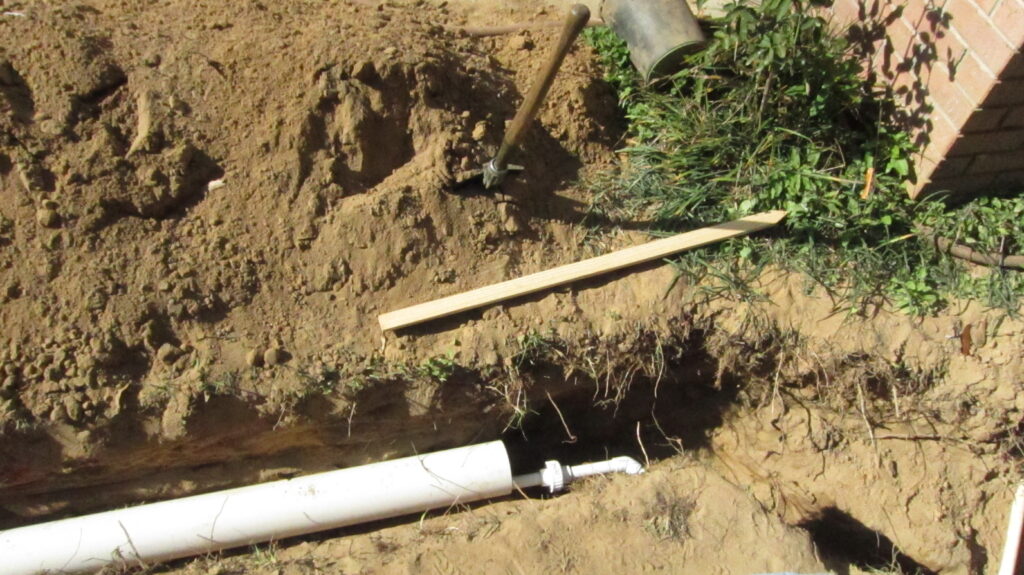

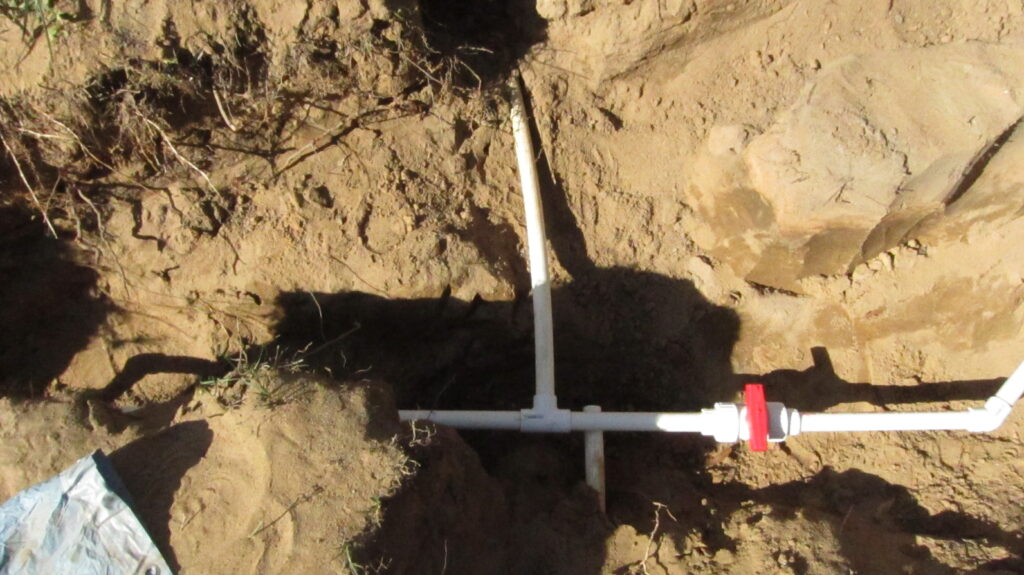
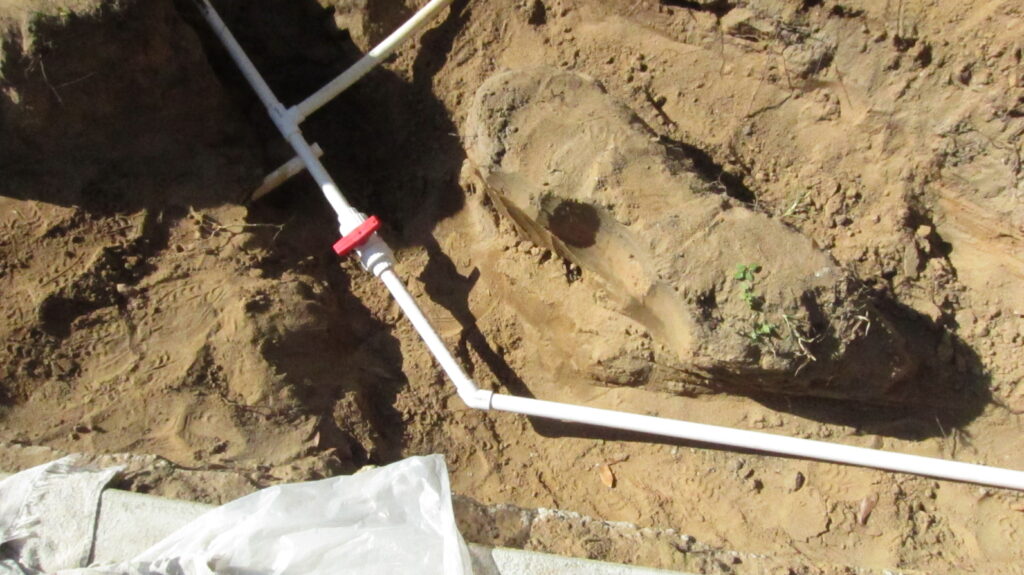
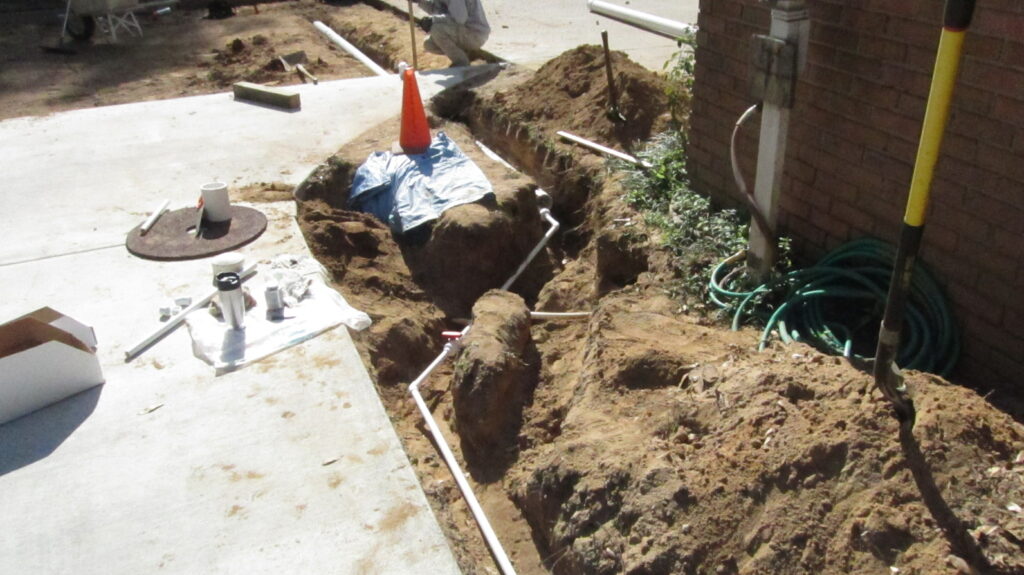
The new water service line is shown again (top three rows of images above) before the final pour. Note the new line going to the future shed and outside kitchen (bottom row of images above).
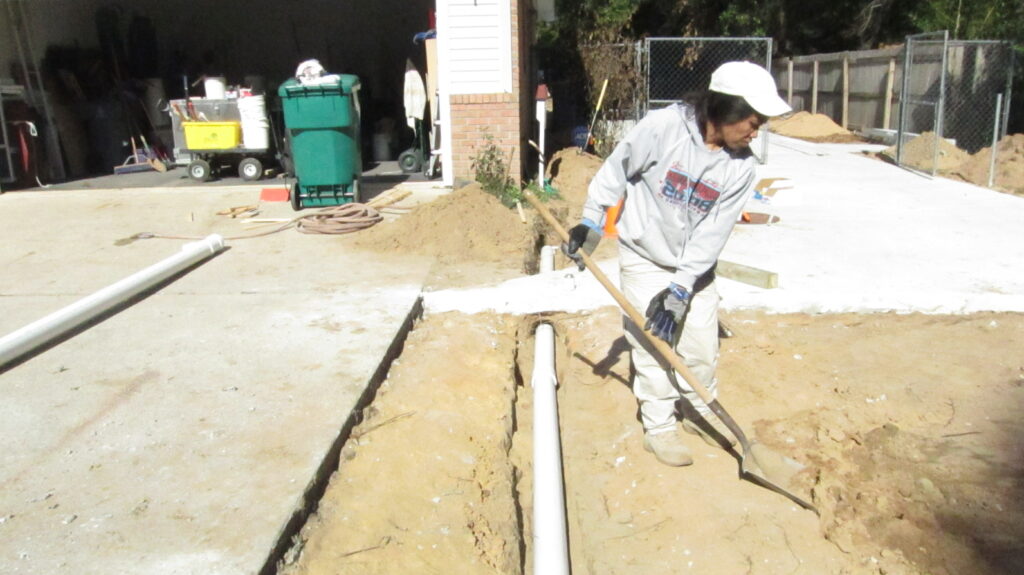
Covering the Rear Trenches 121214
.
.
.
Covering the water and service lines to the shed (above).
.
.
.
.
.
12×28 Shed Delivery 121614

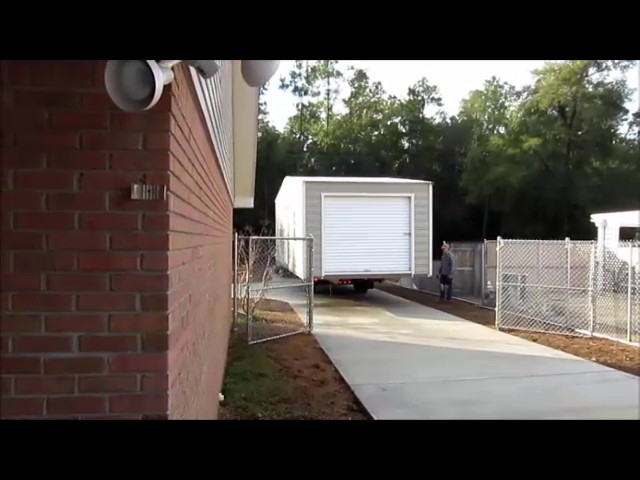
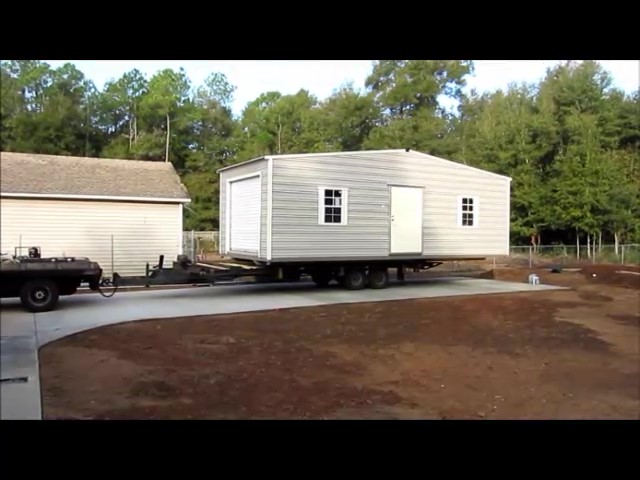
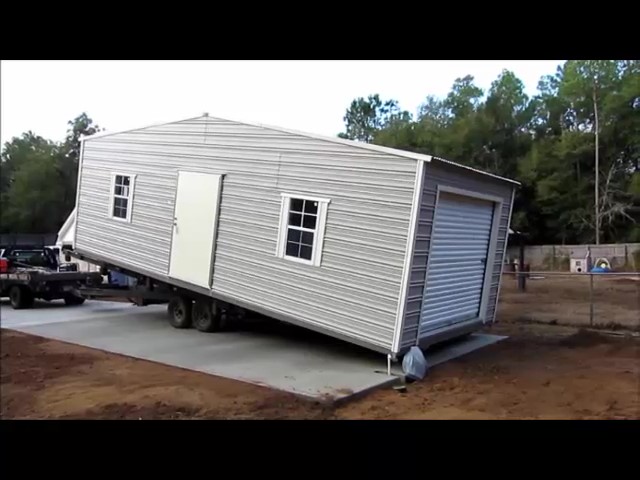
How do you squeeze a 12′ shed through a 12′ gate? Carefully…
Stump Grinding 121914
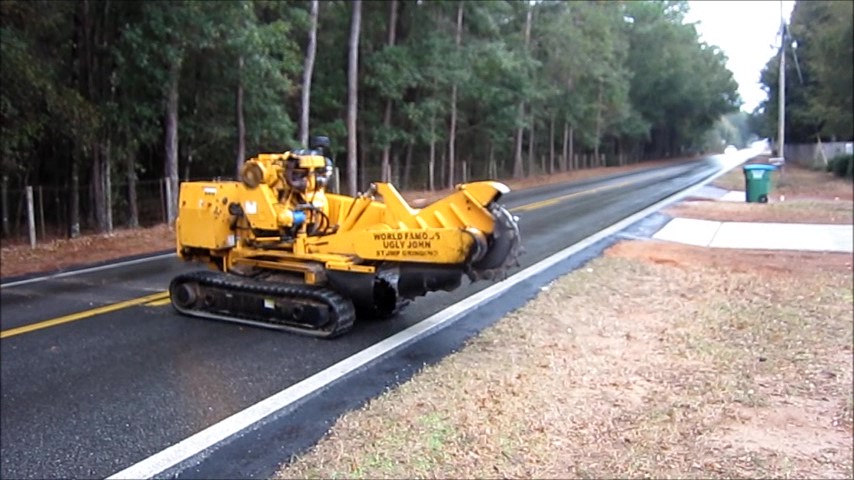
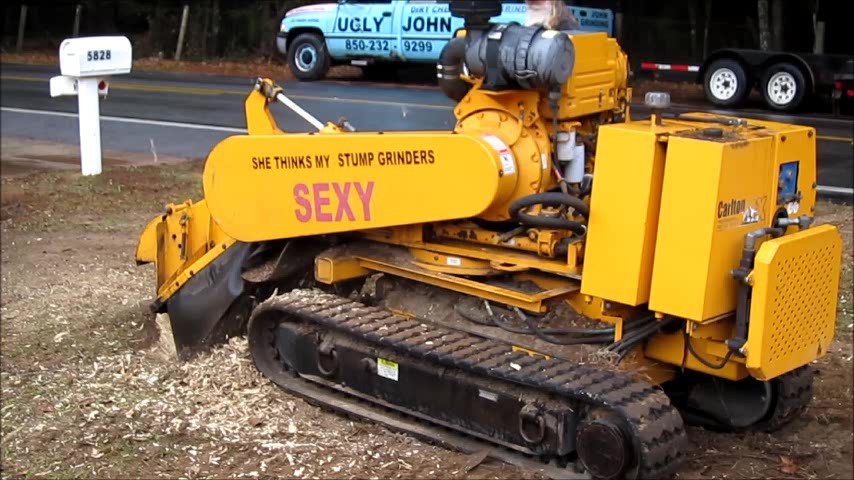
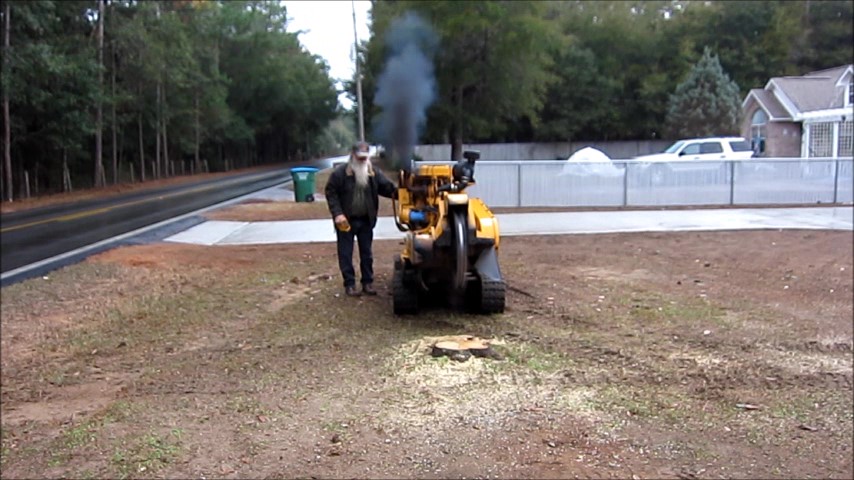
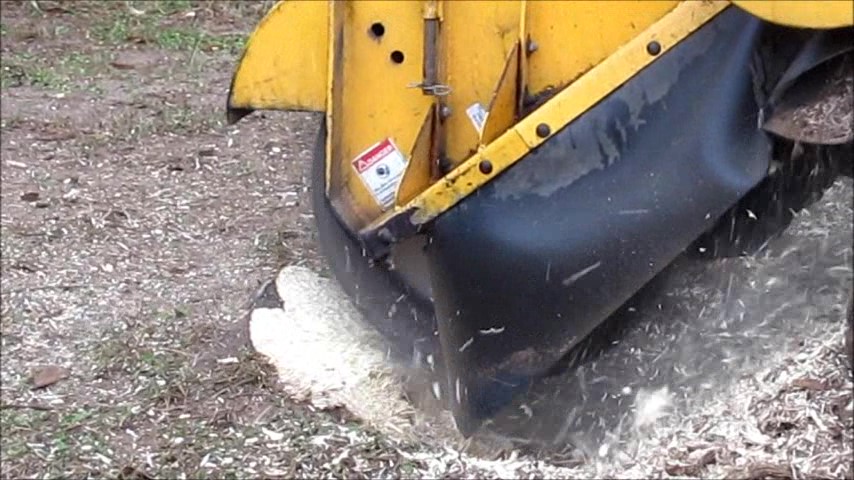
Ugly John did our stump grinding work. When I remarked that he wasn’t all that ugly, he said he looks surprisingly different if you don’t pay your bill.
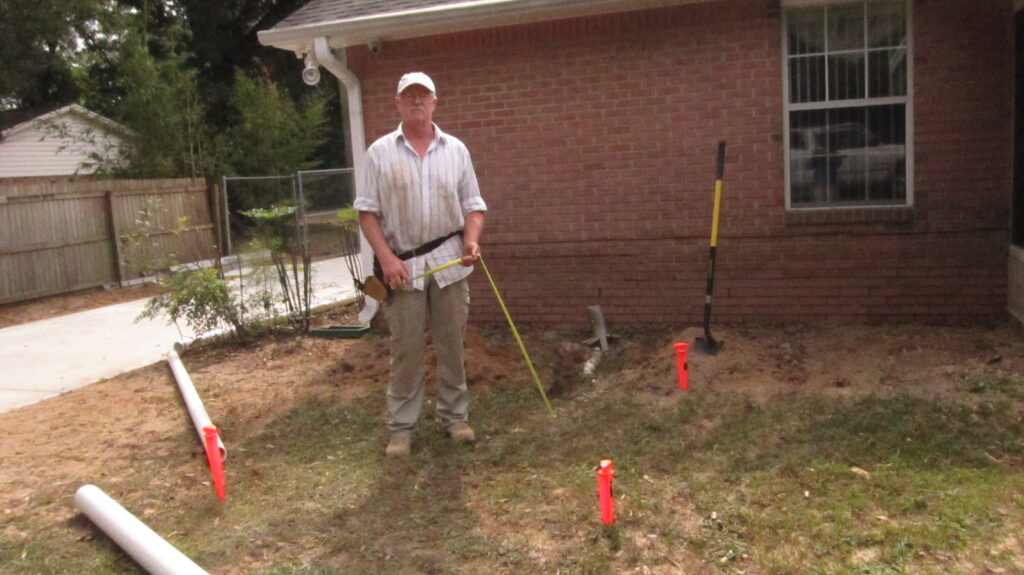
Rainwater Diversion—Rear Slope Test 121914
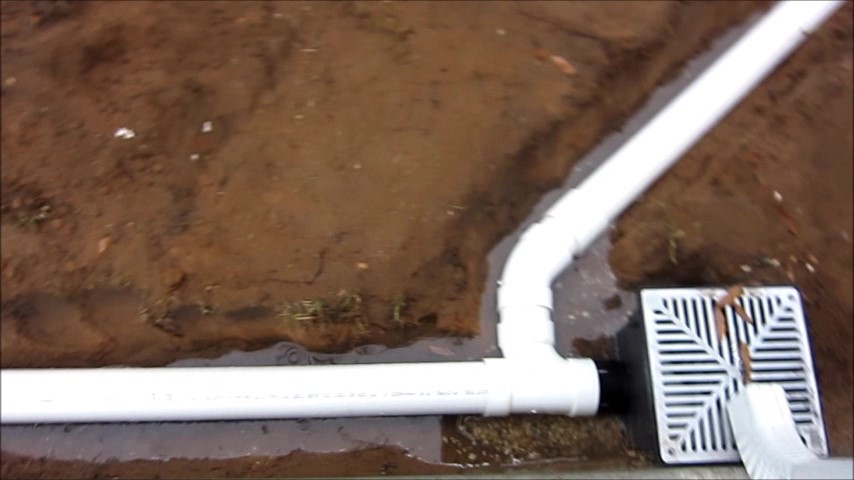

The first step of installing the rainwater collection system is determining the depth of the sump. To perform this test, the main downspouts are connected temporarily and routed (with the proper slope) to a drain. The depth of the drain is adjusted (up or down) until optimum flow is achieved.
Next up, Year 2 (2015)