
Summary: Year 2 saw the testing and scaling up of our hydroponics tanks, the installation of a Tier-2 solar PV (and hot water) system, the first raised beds, and the completion of the plumbing for the rainwater collection system.
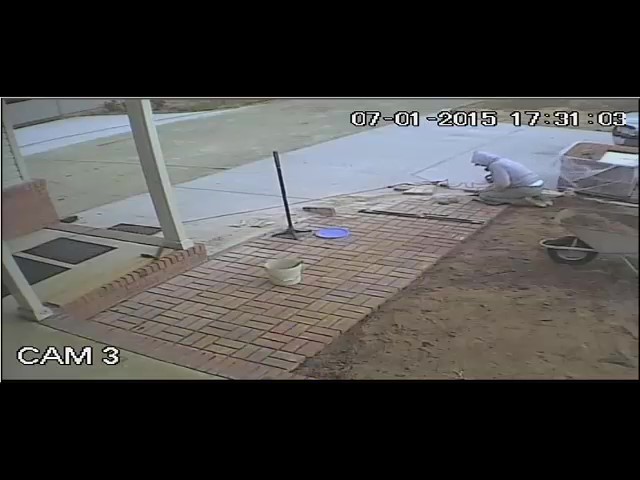
Front Patio Pavers Installation 010715
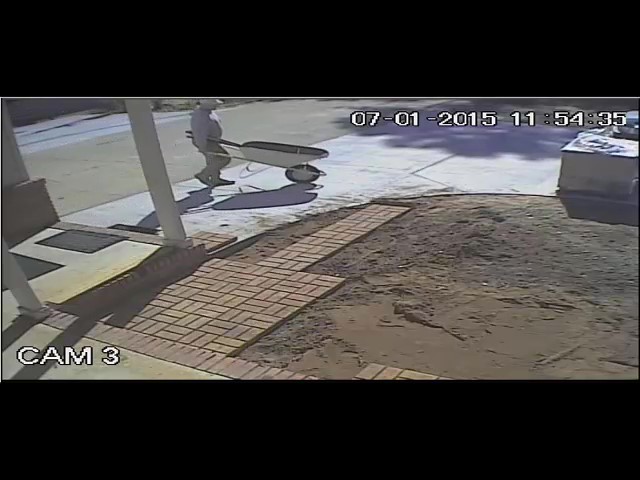
The paving begins! The front patio was selected as the first location for laying down pavers. Pavers are ideal for installing an impermanent surface that can be easily reconfigured at a later date if your plans change. The trick is to lay them in a hard-bordered “box” that keeps them from moving around. In our case, the front patio is bordered by the concrete driveway and the foundation of the house. Cutting the curves that were needed to match the contour of the driveway was difficult at first, but became much easier after the first hundred cuts. Another trick was creating a set of strong metal hooks to lift out pavers, as needed, to make adjustments, such as installing drain pipes for the rainwater collection system.
Tip: A 4″ compacted base is optional. Simply rip out any roots that may be in the way, level and tamp the grade as best you can (working two pavers ahead) and lay ’em down. Forget perfection; you’ll never notice a 1/4″ variance. Use a 6″ level (for individual pavers) and a 3′ level (for adjacent pavers) to keep things straight, and don’t be afraid to pave a slope for drainage if needed. Expect to make minor adjustments as you proceed. We laid down over 2000 pavers (on 9 patios) at EBG.
Also: In most cases, pavers are preferred over concrete; they’re easier to maintain, the mold isn’t as noticeable, and cracked pieces can easily be replaced.
New Tile 012715

All of the carpeting and composite flooring was removed from the interior of the house and replaced with tile. We thought about doing the work ourselves, but we had too many projects underway. The tile work was done by Act 1 Flooring & Supply (from Pensacola). We later discovered that the grout used for the tile was not “kitty proof” (their claws would sometimes dig out the grout). The good thing about soft grout is that it’s easy to remove. The bad thing about soft grout is that it’s easy to remove!
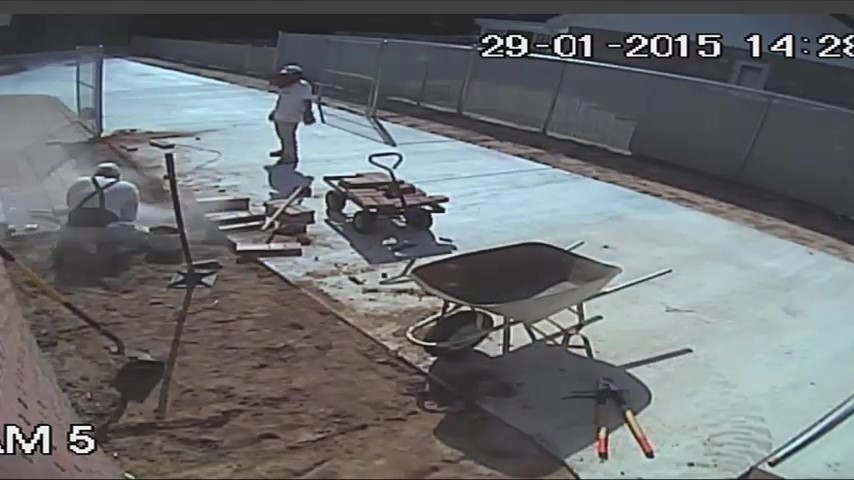
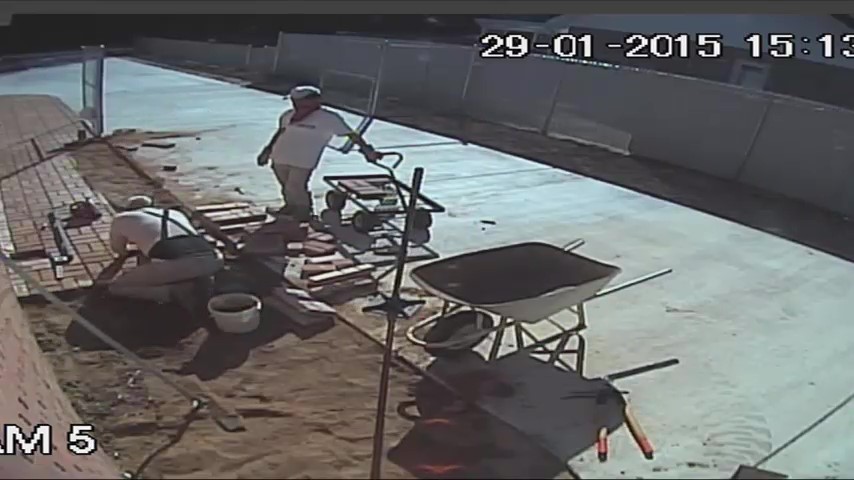
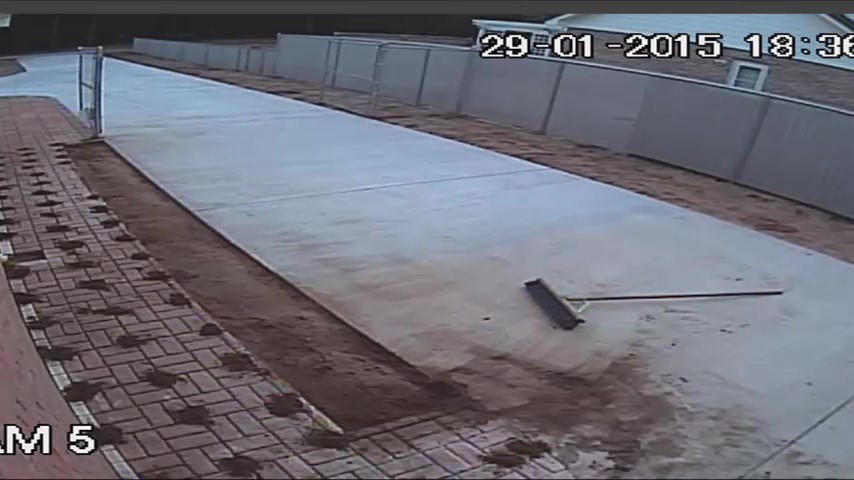
West Paver Installation 012915
The best time to lay pavers is surely the Winter season. After finishing the front patio, we just kept going. The West patio was designed to contain a deep planter bed and a tall heat shield trellis that would protect the hot side of the house.
Planted with Confederate Jasmin and a variety of seasonal vining plants (shown in the following paragraphs), the West trellis would (hopefully) provide year-round protection.
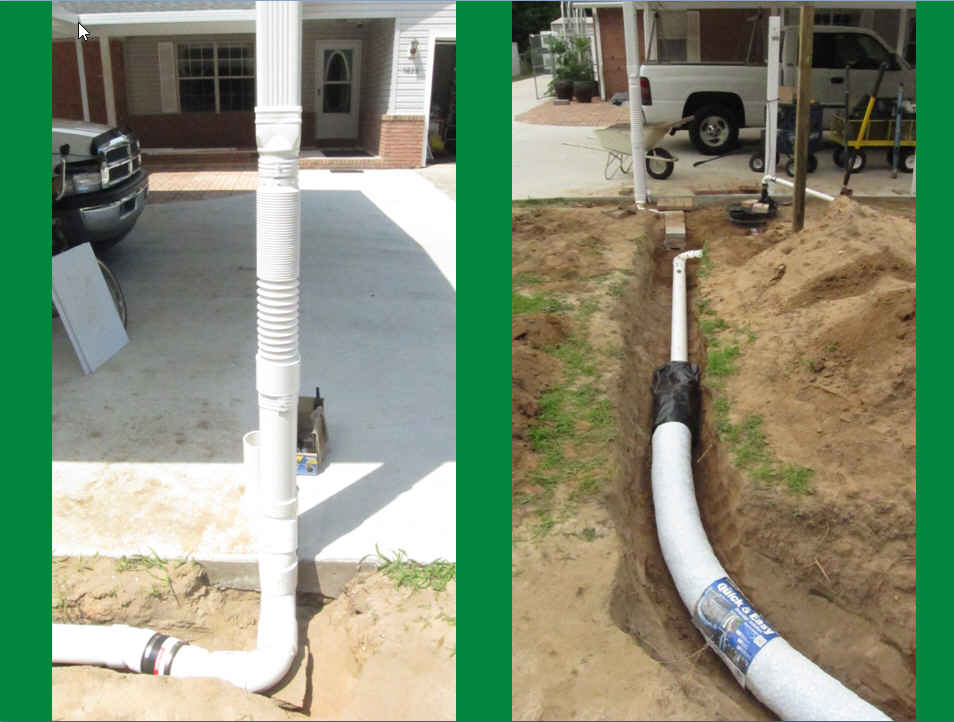
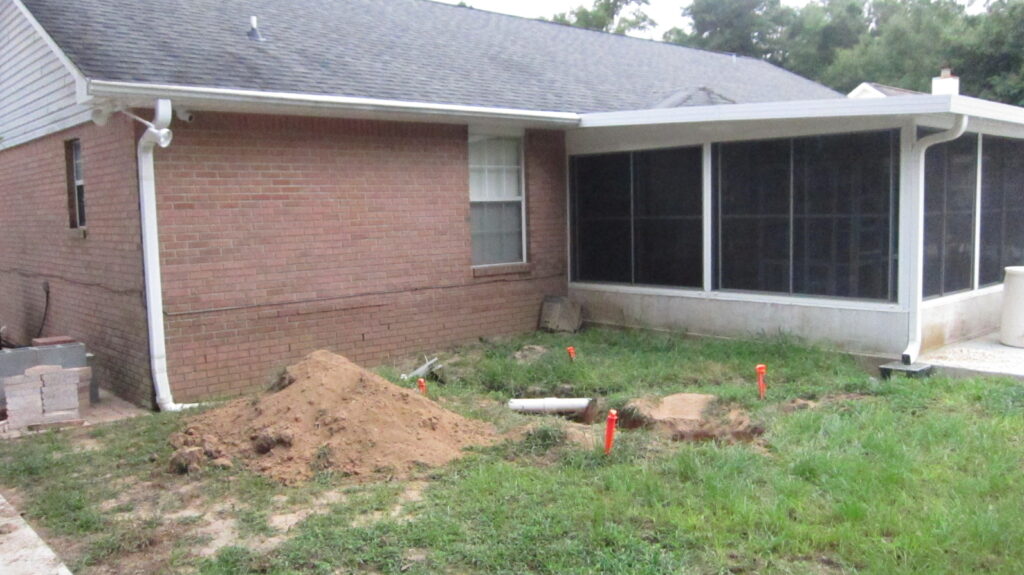
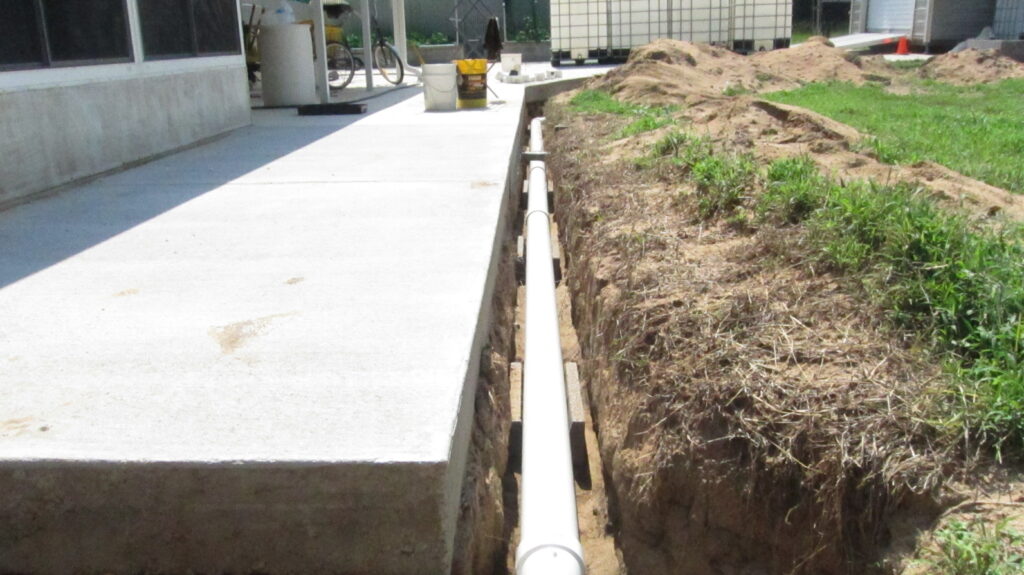
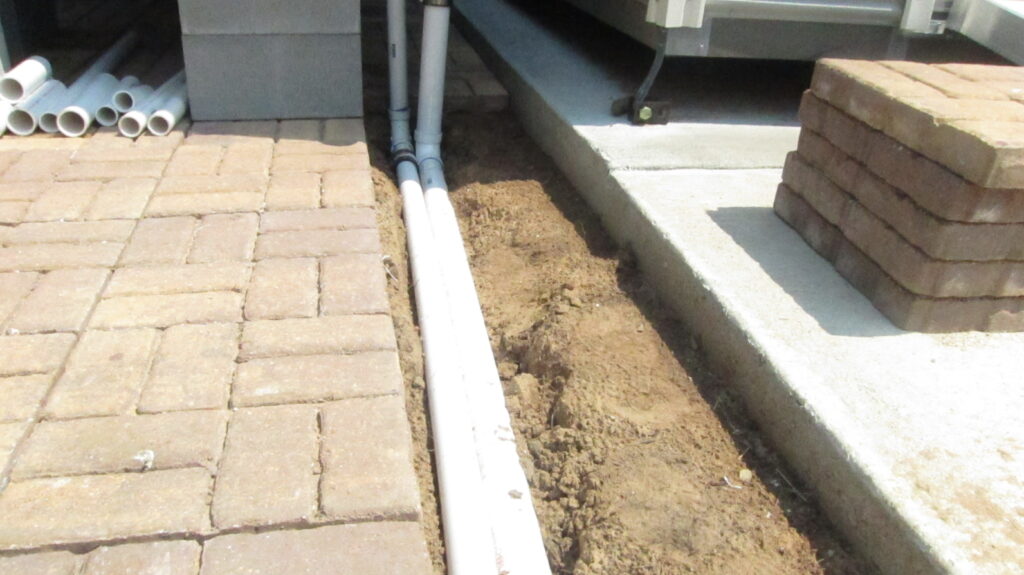
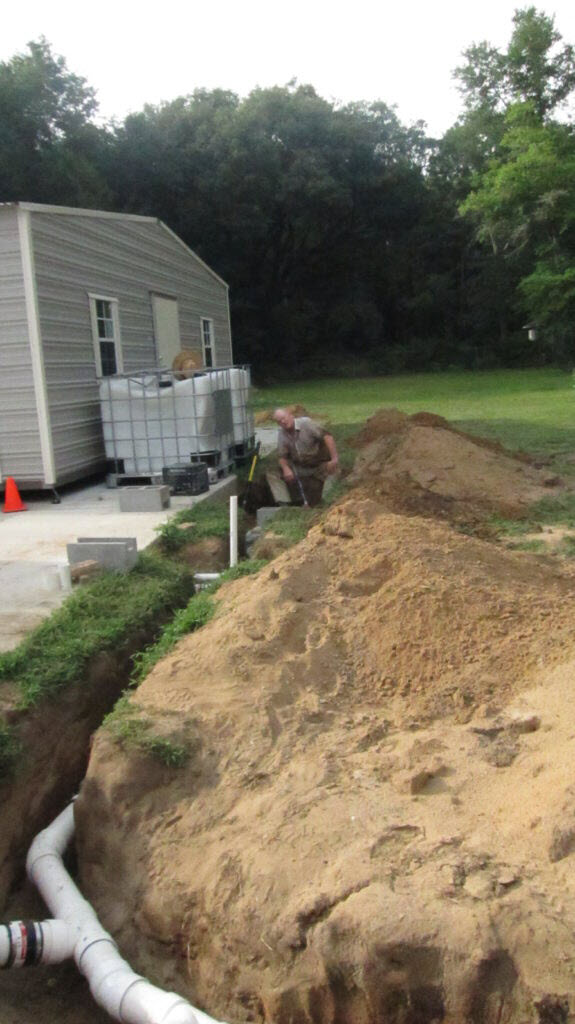
Installing Rainwater Collection Piping 033115
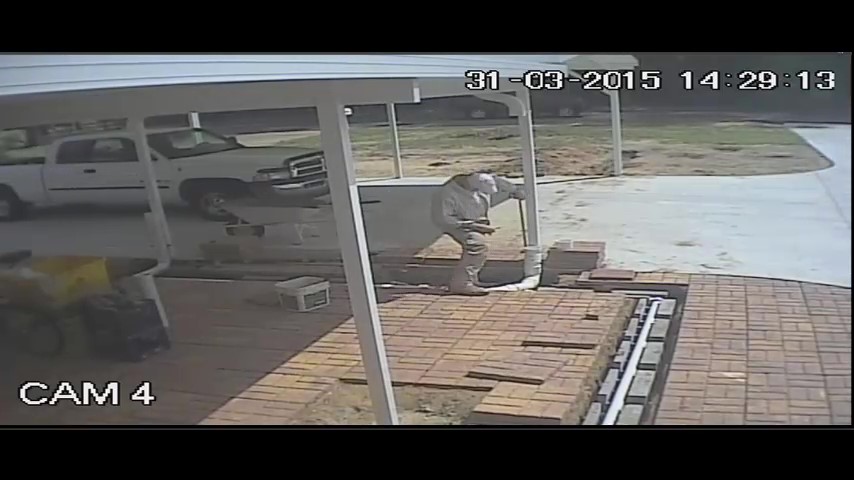
With the front and West patios in place, and the carport and patio covers installed, it’s time to lay in the piping system for the front section of the rainwater collection system. We used the lifting hooks (created earlier) to lift out the pavers that would cover the pipe trenches. The piping system uses a flipper floor approach like that found in data centers to provide access for maintenance.
Read more about EBG’s Rainwater Collection and Distribution system (including the Bottom Line).
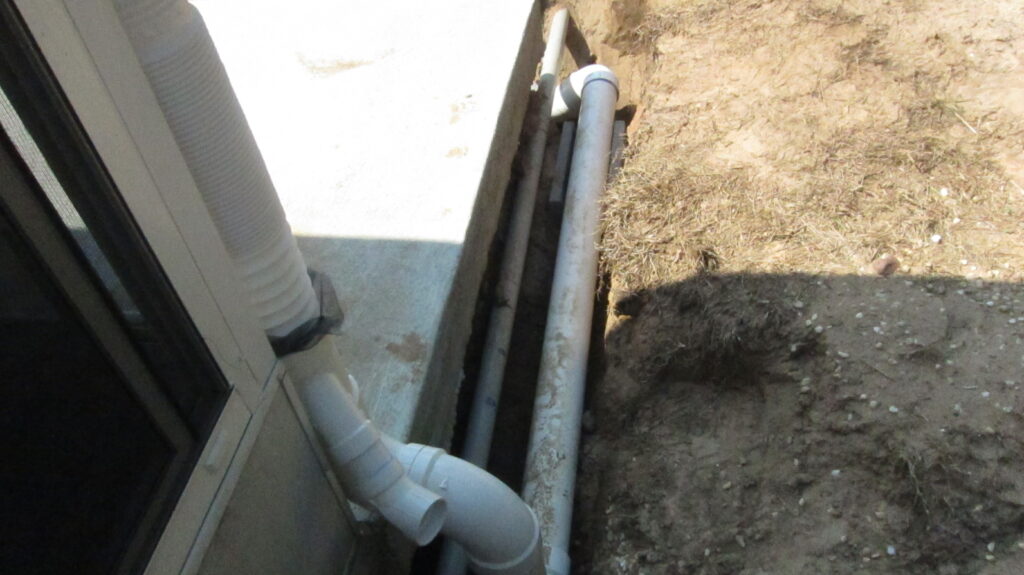
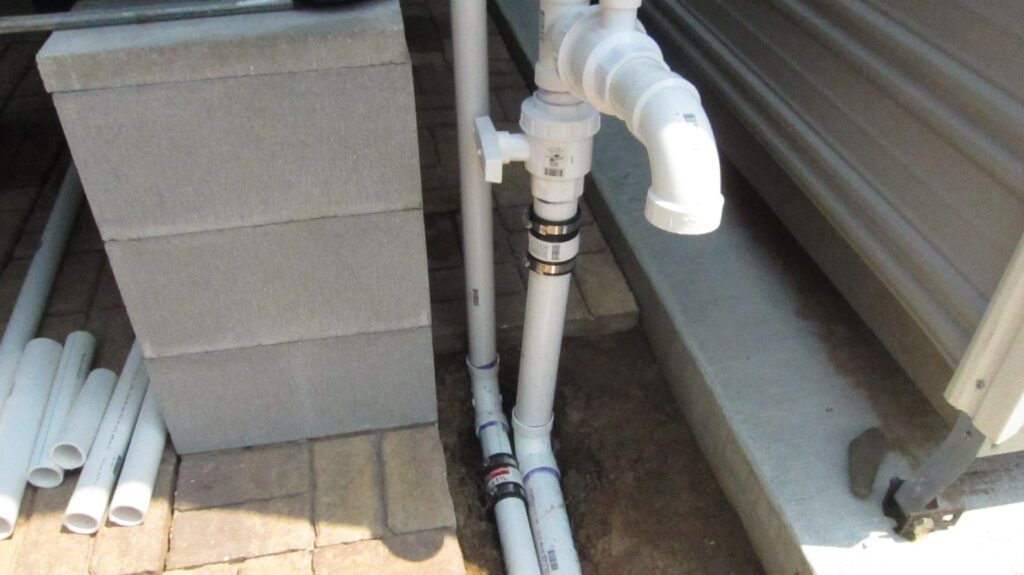
Installing the Front Pumping Station 042415
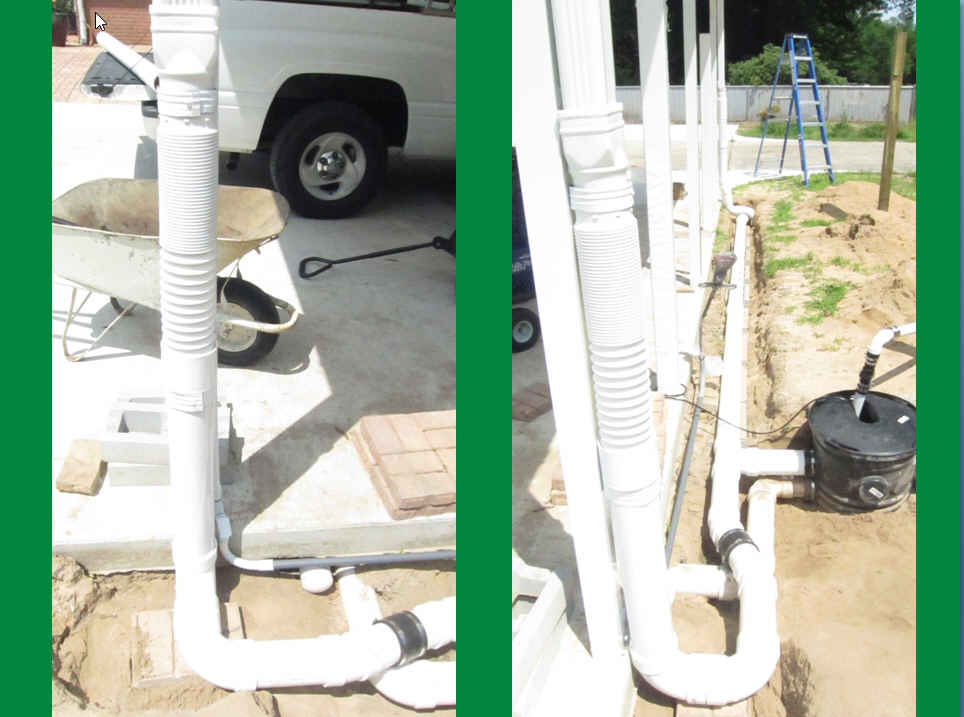
The design finished, it was time to begin the installation of the front rainwater downspouts, drains, and pumping station. We spent lots of time designing an overflow method only to discover that it was much easier to simply disconnect the downspouts that fed the sump pump.
Read more about EBG’s Rainwater Collection and Distribution system (including the Bottom Line).
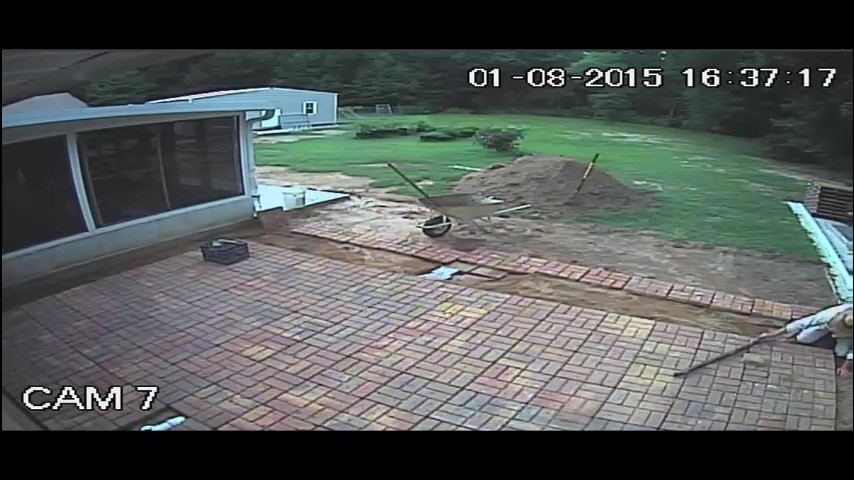
West Beds Compost Fill 041715 (West Trellis)
Hauling compost for the initial fill of the tall (18″) raised beds on the West fence line is hard work (above). We shoveled about ten yards of compost by hand. At left, the West Trellis heat shield is in place, rising 12′ feet on PVC frames that are set into sockets for easy removal (to allow access to the plumbing cleanout on that side of the house).
Tip: The long narrow area between the trellis and the house is used as a garage for our 200′ water hoses (to protect them from the hot summer sun).
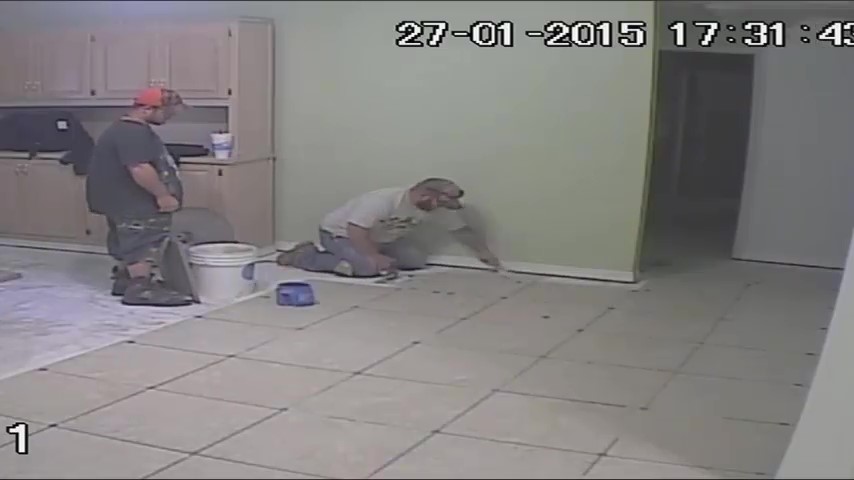
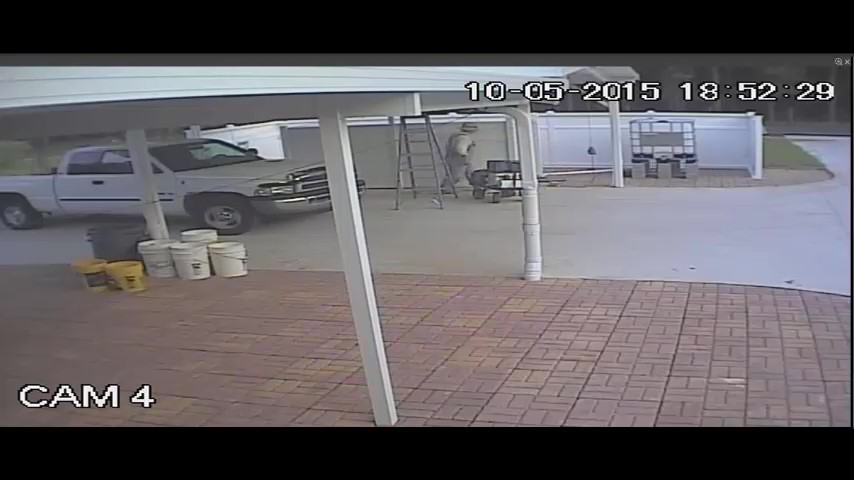
Exhaust Fans for a Messy Tile Removal Task
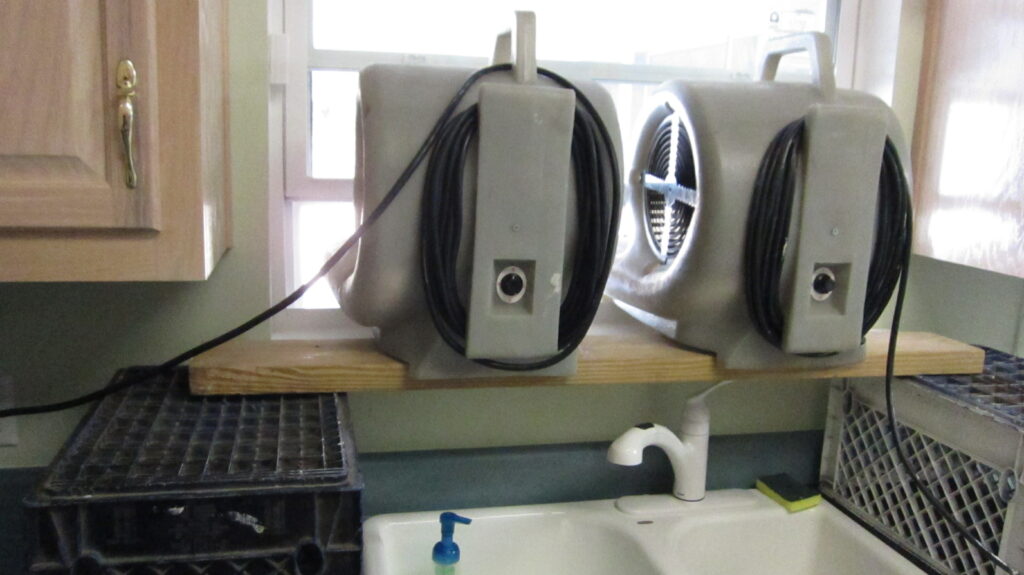
The tile project inside the house really hit a rough spot when it came time to remove the original tile in the kitchen. The original contractor must have used an epoxy adhesive because we couldn’t remove the old tile. After several hours of effort, our installers called it quits and went home, leaving the problem for us to solve. After assessing out options, we drove to General Rental and rented two large hammer drills. We also rented two large exhaust fans to blow the mess outside. And, we lined the kitchen walls with plastic sheeting to keep the mess from escaping to the rest of the house. Then we worked all night to bust out the old tile. Though exhausted by morning (no pun intended), our efforts kept the tile replacement project on track and succeeded in preventing cascading delays. Unfortunately, the kitchen was trashed by the dust and debris of the removal process, requiring nearly a week of cleanup.
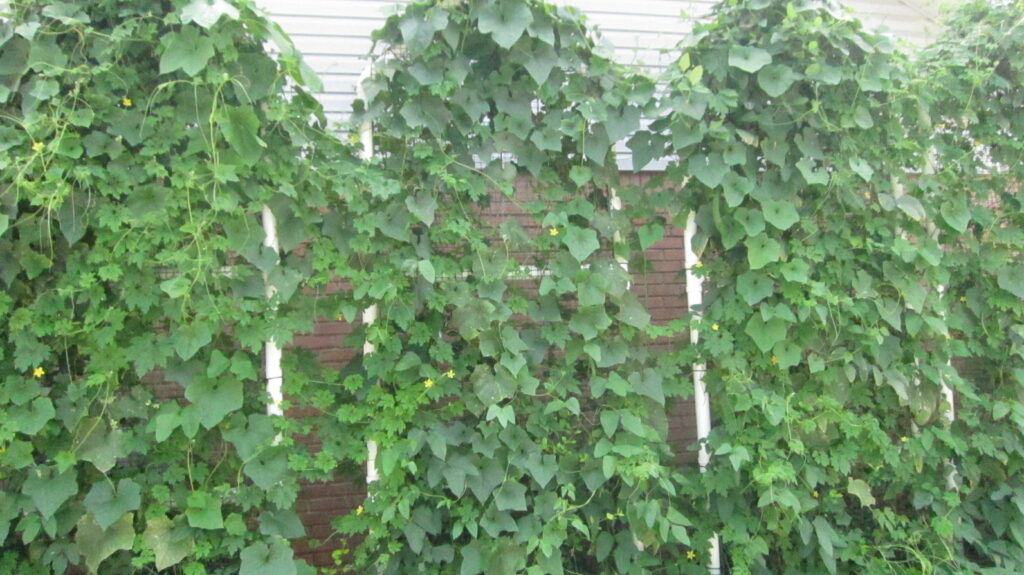
Japanese Squash on the West Heat Shield Trellis 043015

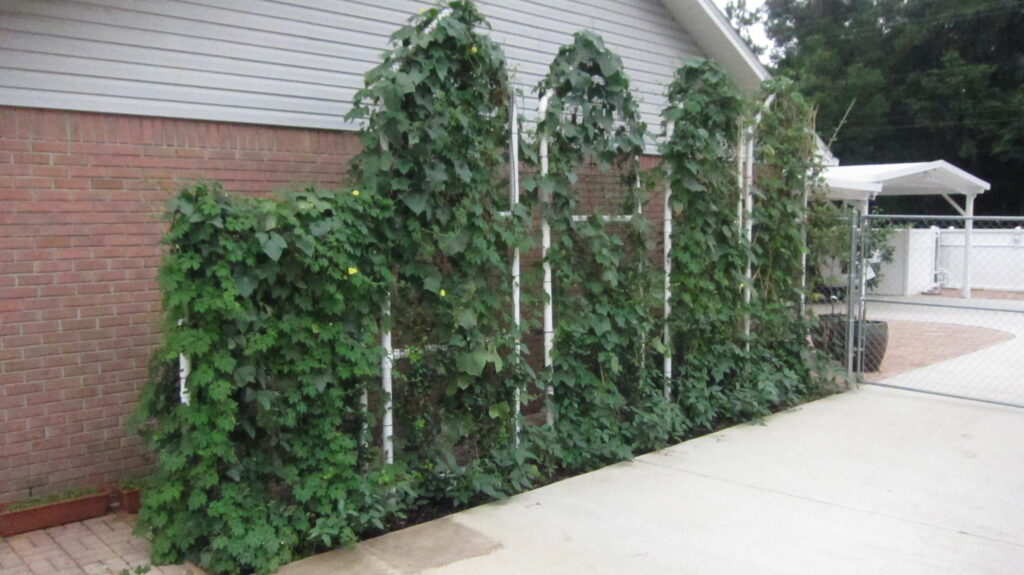
In addition to Confederate Jasmine, the West Trellis is planted with a fast-growing Japanese squash that quickly covered the trellis and blocked out the summer sun on the hot West wall of the house (above left). In a few months, the West Trellis filled out nicely (above right). Rejoicing in the hard-won success of this simple yet original design, we failed to take into account the weight of the fast-growing plant cover, or the sail-like wind-catching characteristics of our new creation. High winds knocked it down in the winter of 2018 and it had to be replaced with a shorter (6 foot) version.
Front Patio Build 043015
The next step is to build an enclosure to hide the front tank bank. In addition to hiding the tanks, the enclosure also helped to provide additional privacy for the front patio.
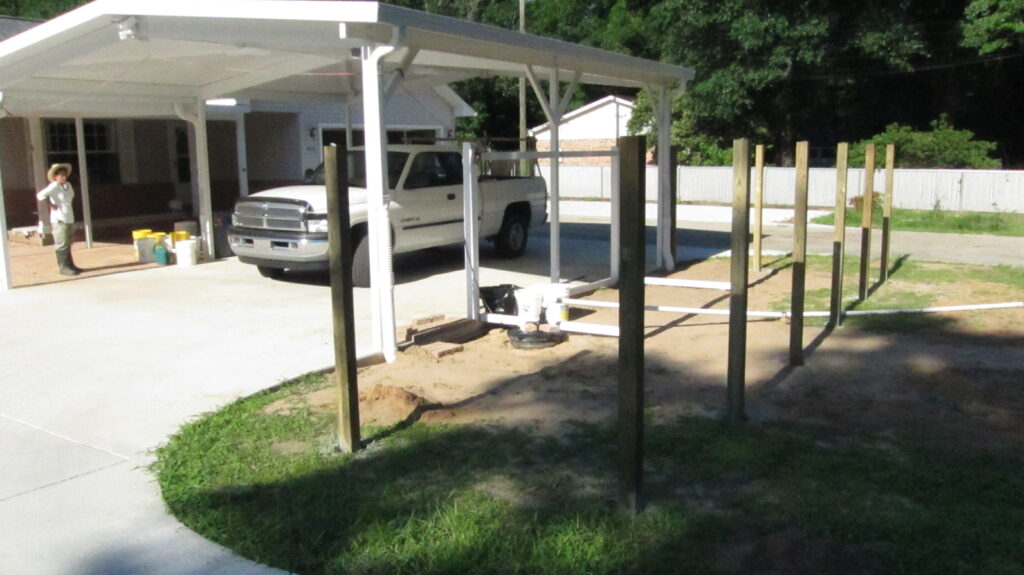
Building the Front Tank Bank Enclosure 050315 (link)
The front tank bank enclosure is underway. We used vinyl fencing panels reinforced with 2″x3″ extruded (hollow) aluminum rails. The rails were filled with pressure-treated timbers that were cut to length and pressed into place to fill the internal void and provide additional stiffness. This design allows us to mount the fence panels to the rails (instead of the 4×4 posts) to make it easy to remove these panels later, if we need to service the tanks. The rails will also provide support for a supplemental solar generator system that might be installed later.
Read more about EBG’s Rainwater Collection and Distribution system (including the Bottom Line).
Concrete Block Delivery 050415
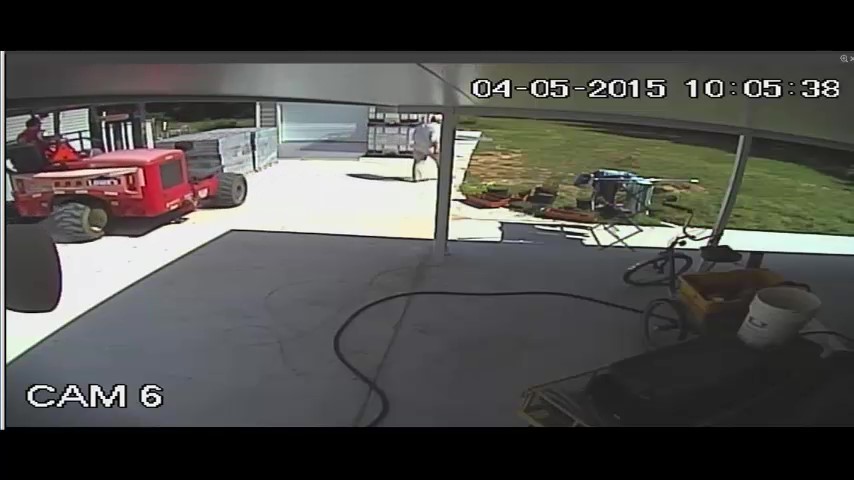
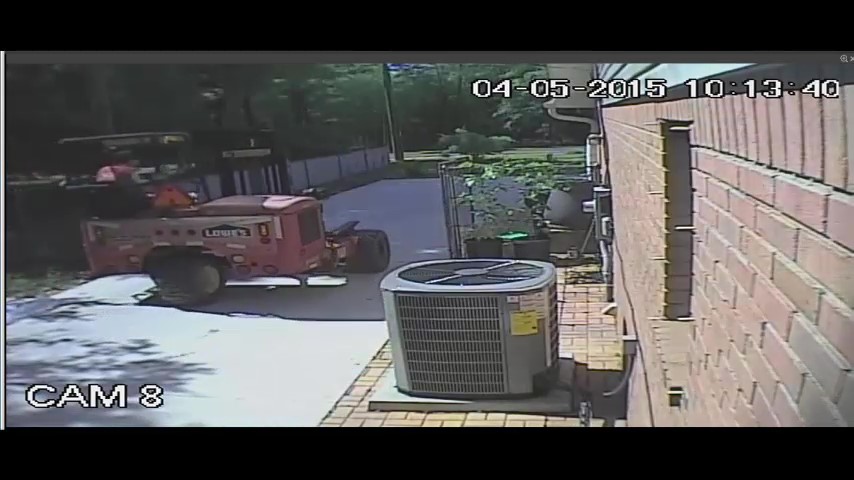
Many pallets of concrete blocks, cap blocks, and pavers were needed as we continued to transform the property. After a dozen trips for supplies, it just made sense to pay the extra charge to have Lowe’s deliver these items to the worksite.
The delivery charge is the same, regardless of number of pallets you order (for a single delivery), so we purchased as many pallets as we could afford, for each project. An added benefit of the delivery service is that it helped to speed up the project by allowing us to concentrate on the installation instead of the hauling (hauling 100 blocks can wear you out).
We bought almost all of our heavy construction materials from Lowe’s, because they’ve always offered a Veteran’s discount (unlike other chain-store suppliers), and they always give us a credit for any damaged or unusable blocks. Another outstanding supplier is Halls Hardware. We shop Halls for specialty items and expert advice.
Constructing Front Tank Bank Enclosure 051019 (link)
The front tank bank enclosure is nearing completion and it’s time to determine the best height for the storage tanks (to provide optimum head pressure). We had hoped to use head pressure to feed our irrigation hoses but that approach proved insufficient as our garden continued to grow in size.
Read more about EBG’s Rainwater Collection and Distribution system (including the Bottom Line).
New Generator Transfer Switch in Shed 051415
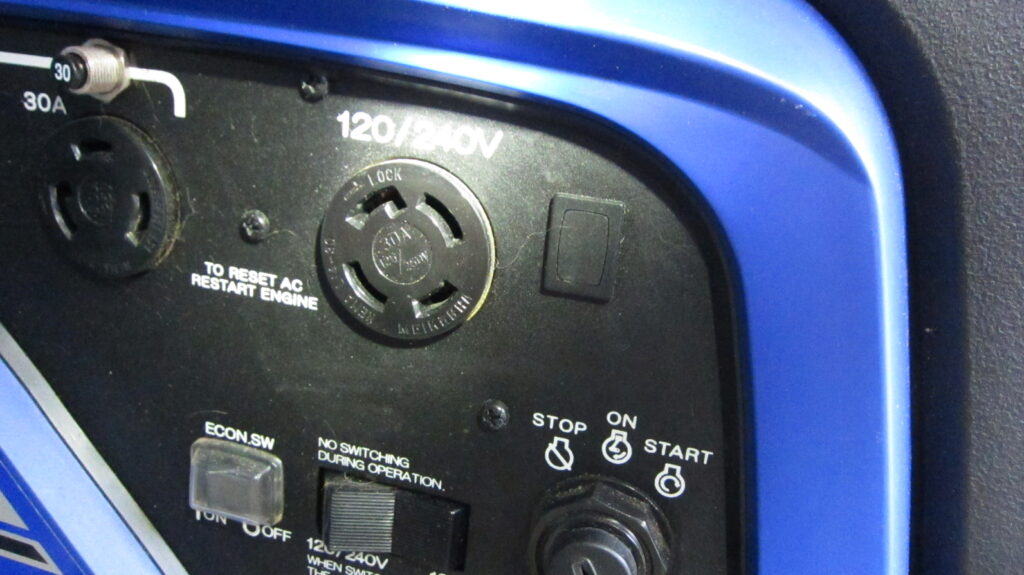
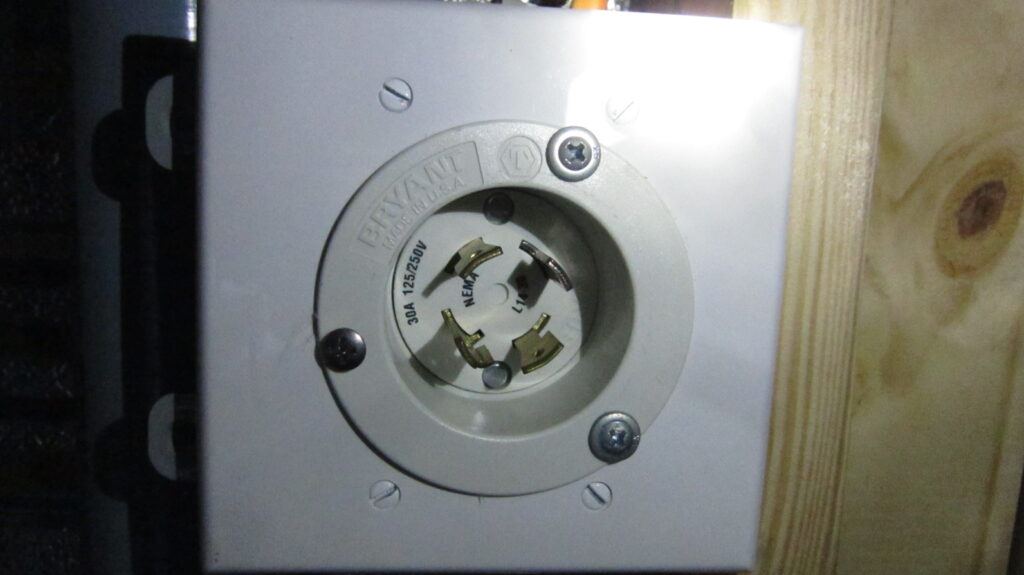
The new transfer switch allows us to use our Yamaha portable generator as an alternate power source for the shed.
Japanese Squash in the West Trellis Bed 051515
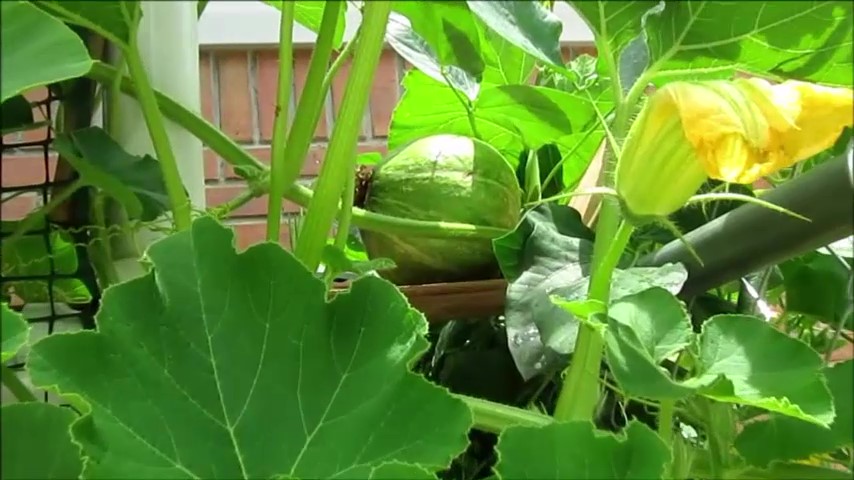
Japanese squash on the West trellis is growing quickly. These plants produce giant fruits that can easily reach five pounds in weight and two feet in length.
.
.
.
.
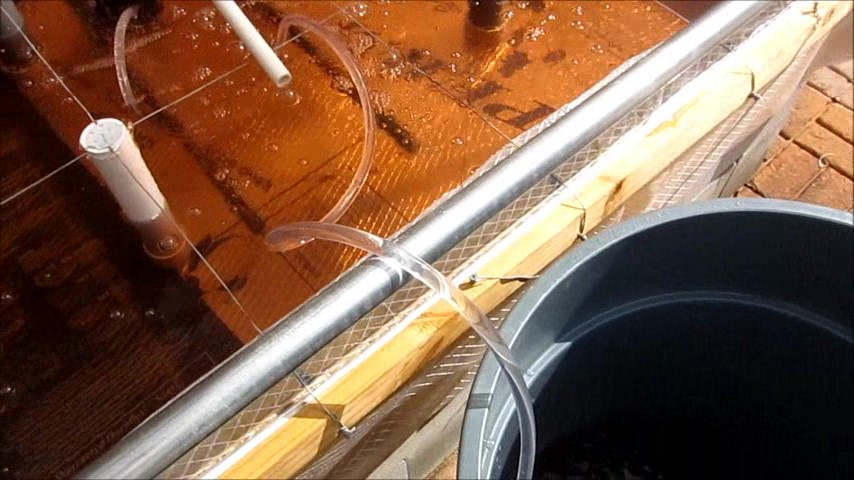
IBC Tank Test for Rainwater 051515 (link)


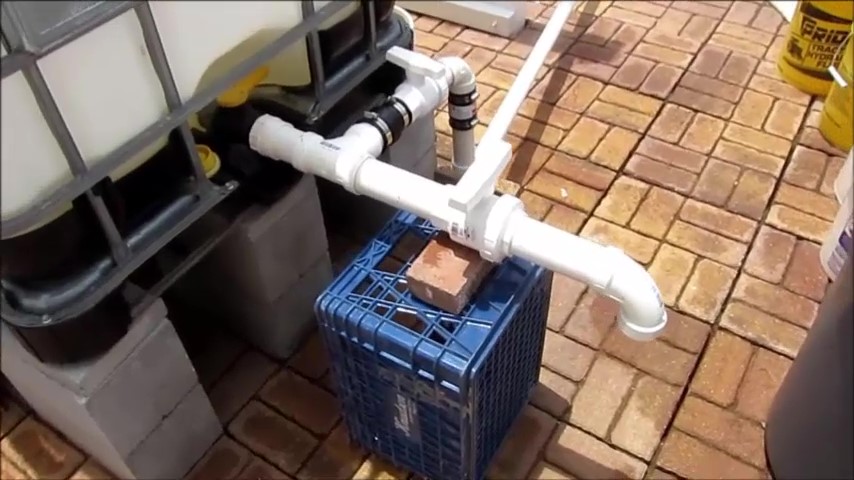
Initial tests were conducted to determine optimum height of the IBC totes (for head pressure), and best methods for plumbing for water capture, distribution, and transfer.
Read more about EBG’s Rainwater Collection and Distribution system (including the Bottom Line).
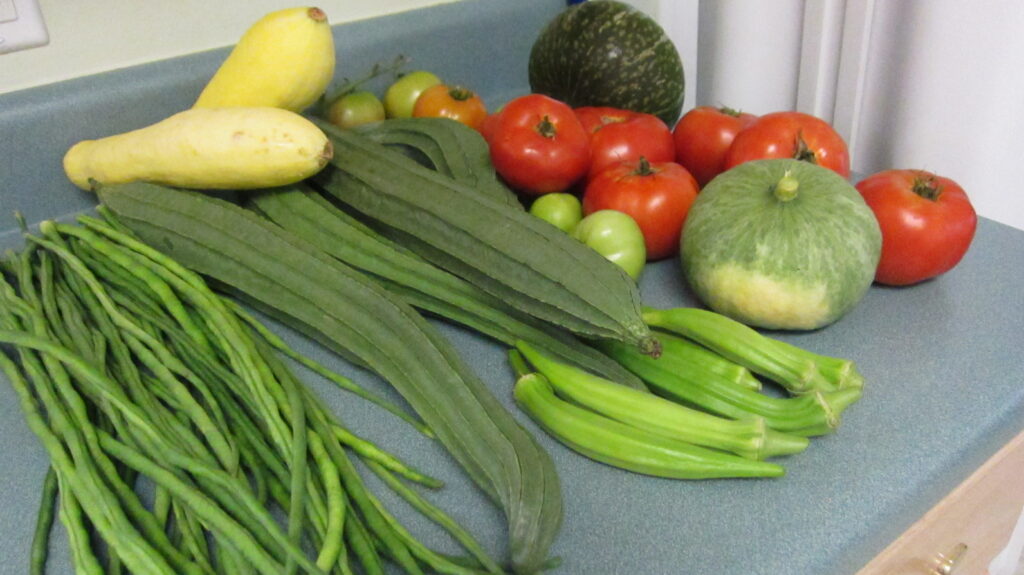
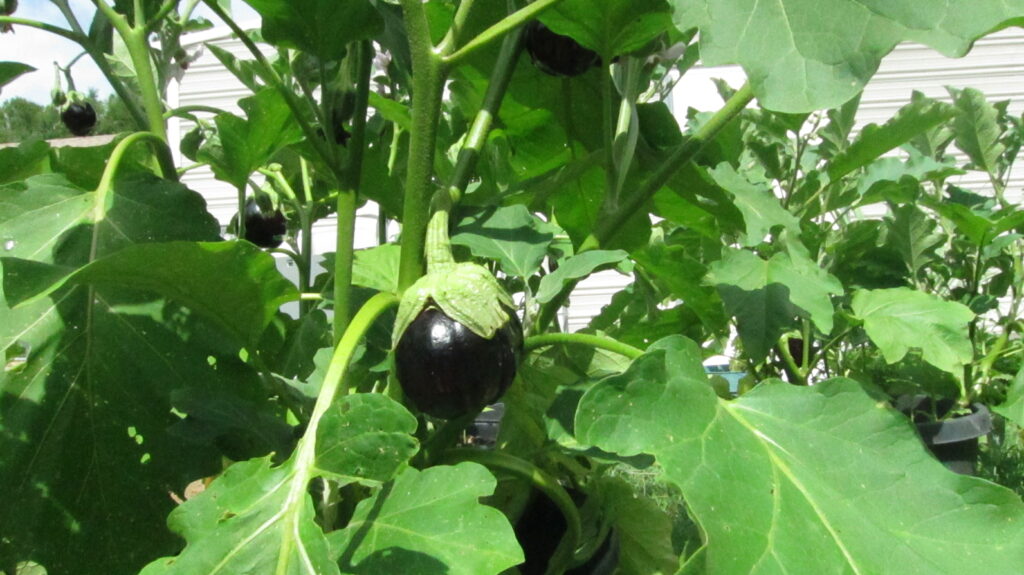
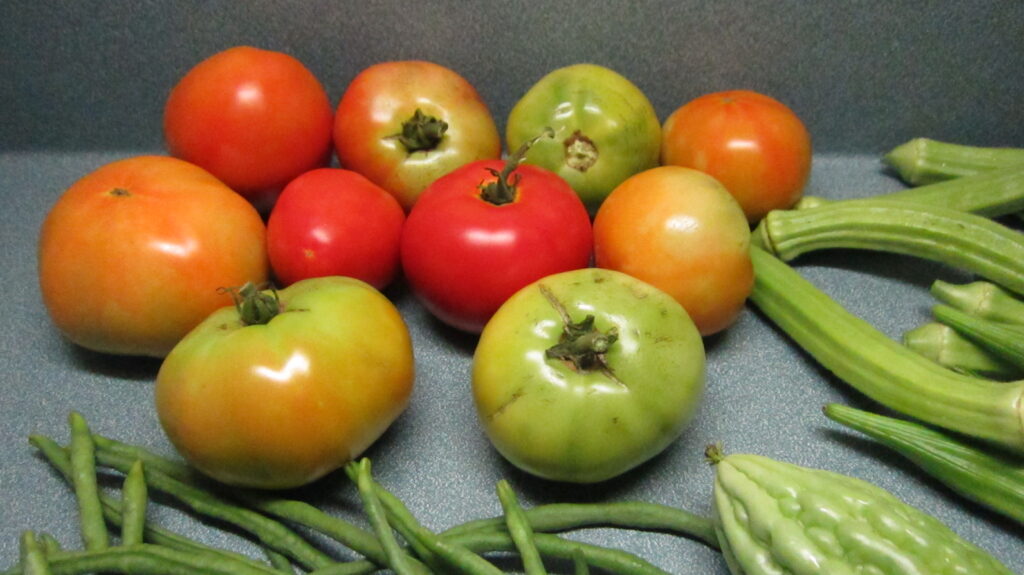
First Harvest 061515
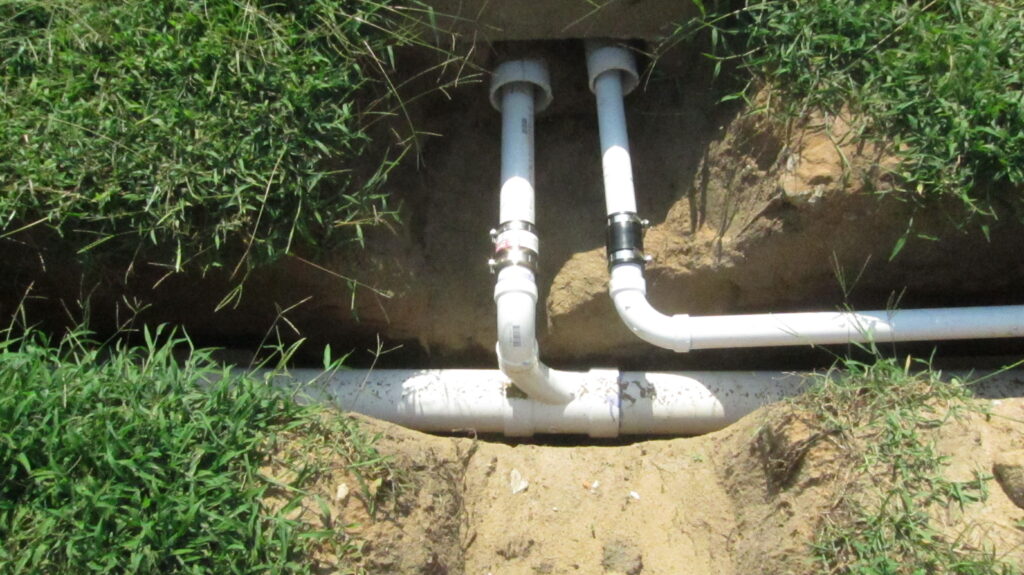
Rainwater Distribution Plumbing 053115 (link)
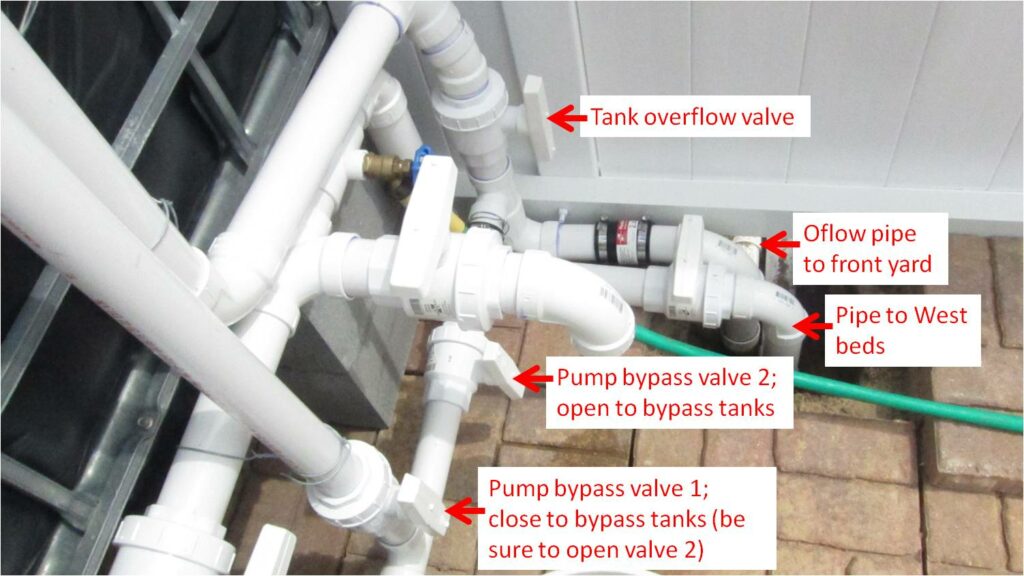
The rainwater distribution system as it nears completion. Our roofs in front are twice as large as the capture roofs in back, so the front bank fills quickly. Unfortunately, the front tank bank is smaller than the rear tank bank. The distribution system allows us to transfer rainwater from the front bank to the rear bank for storage. The ability to transfer from front to back has proved very effective.
Read more about EBG’s Rainwater Collection and Distribution system (including the Bottom Line).
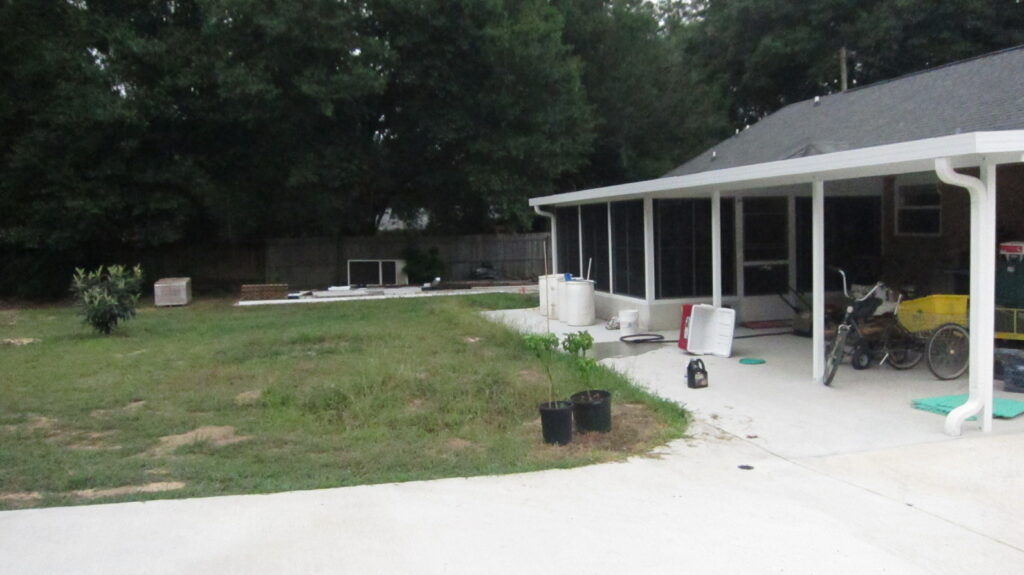
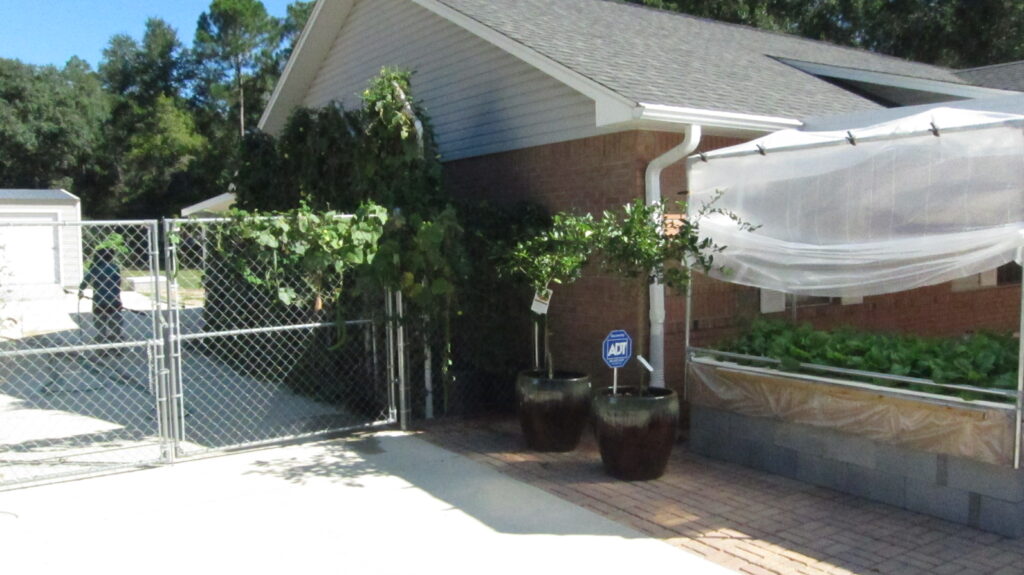
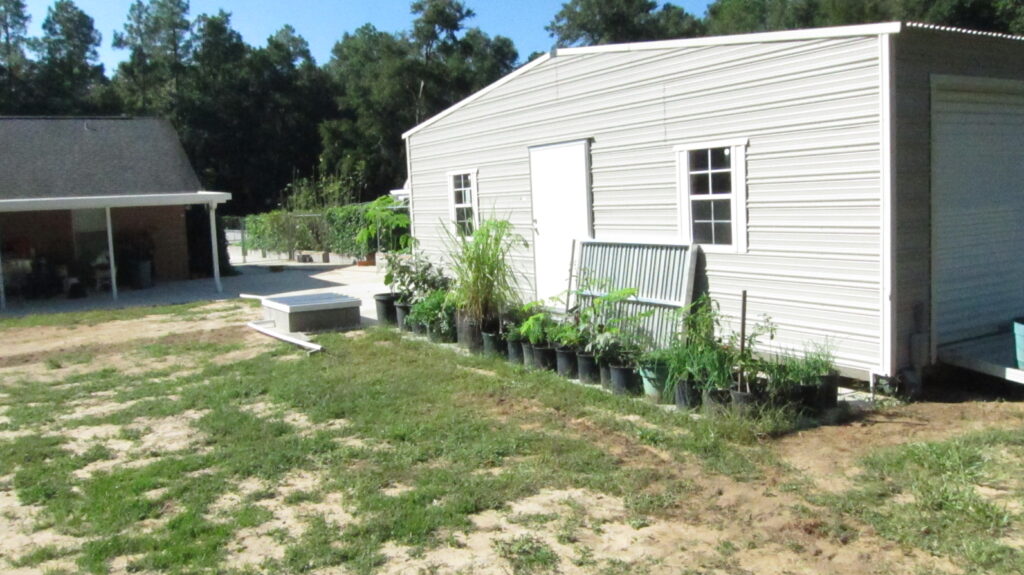
Property Photos 062315 (link)
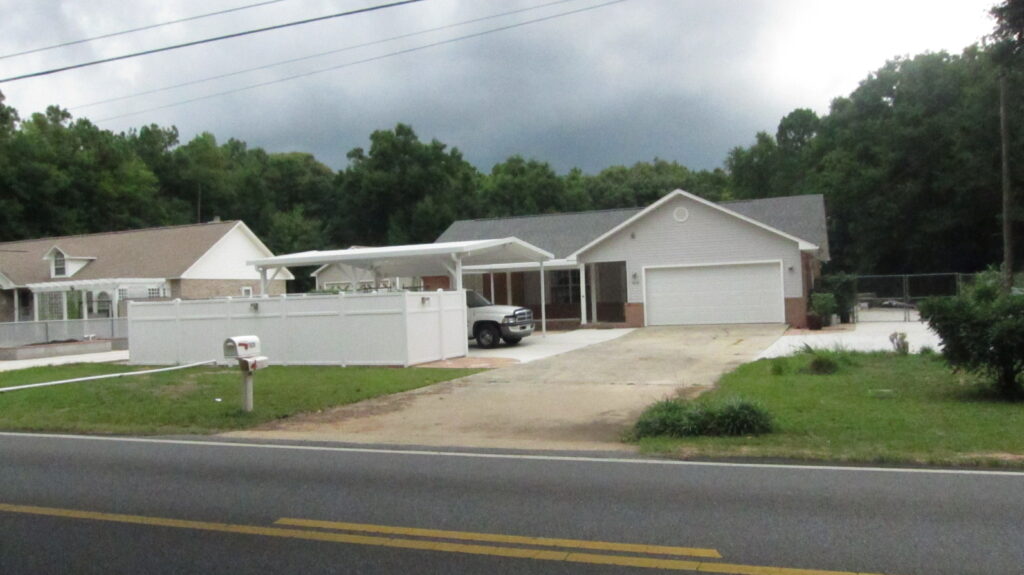
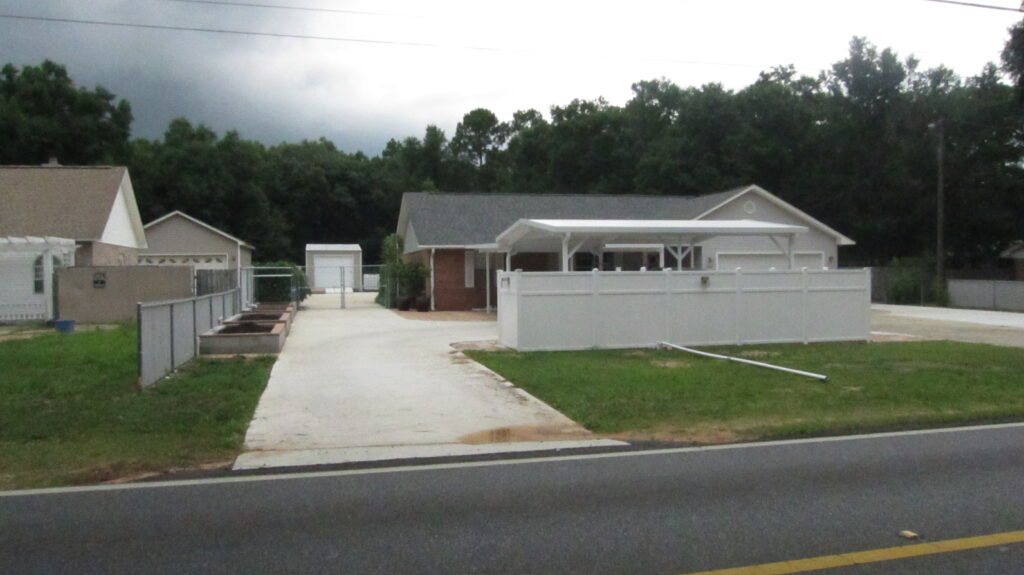
These images show the front yard after the front tank bank installation (within the enclosure) and before the front raised beds (and solar) were added. The property looks very different than it did a few months ago.
Rear-Yard Construction Begins 062315
The front patios and tank bank complete, it’s time to tackle the rear yard.
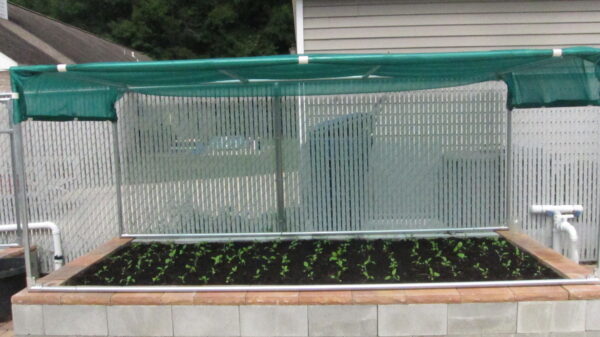
Raised Beds-West 062315 (link)
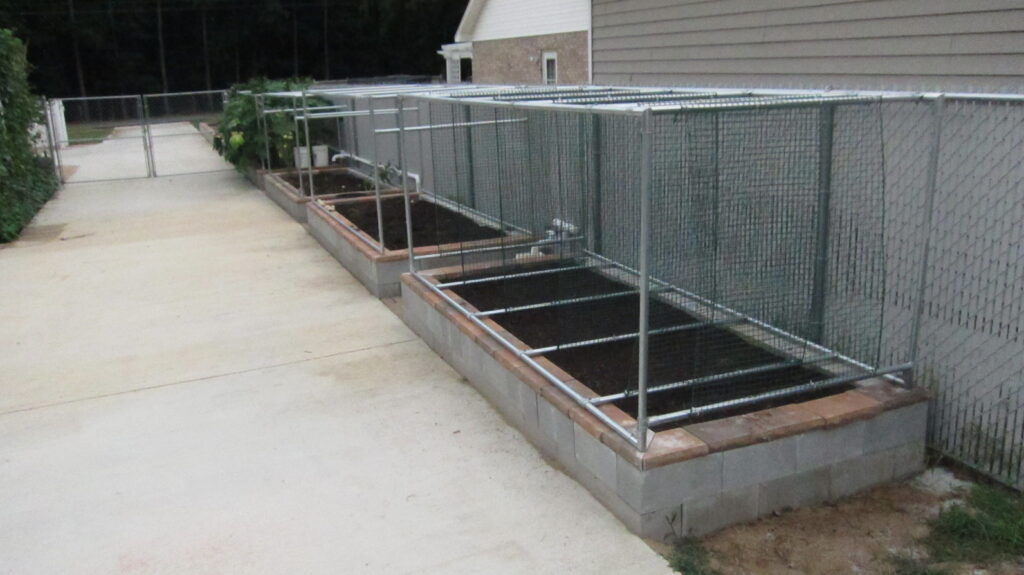
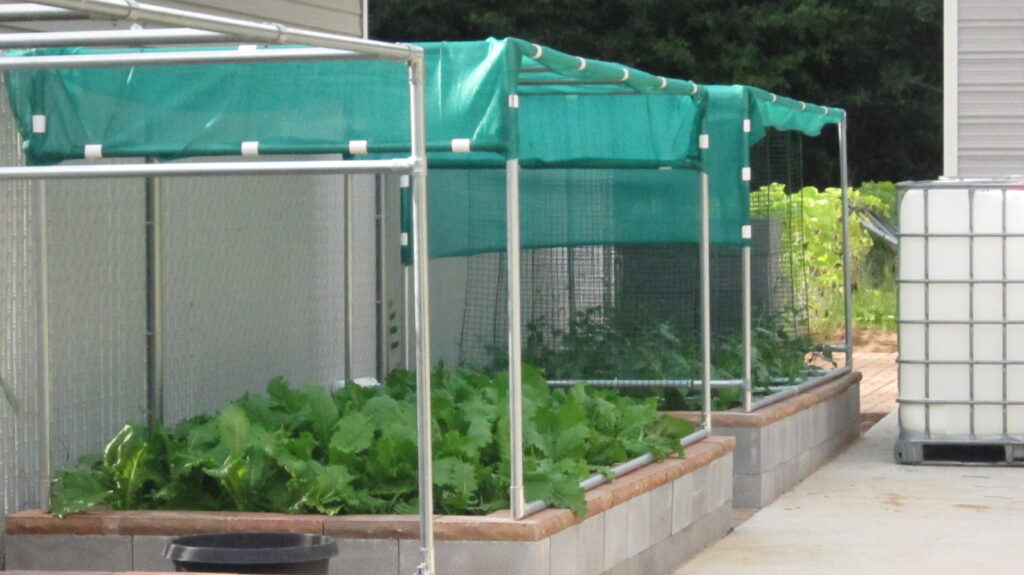
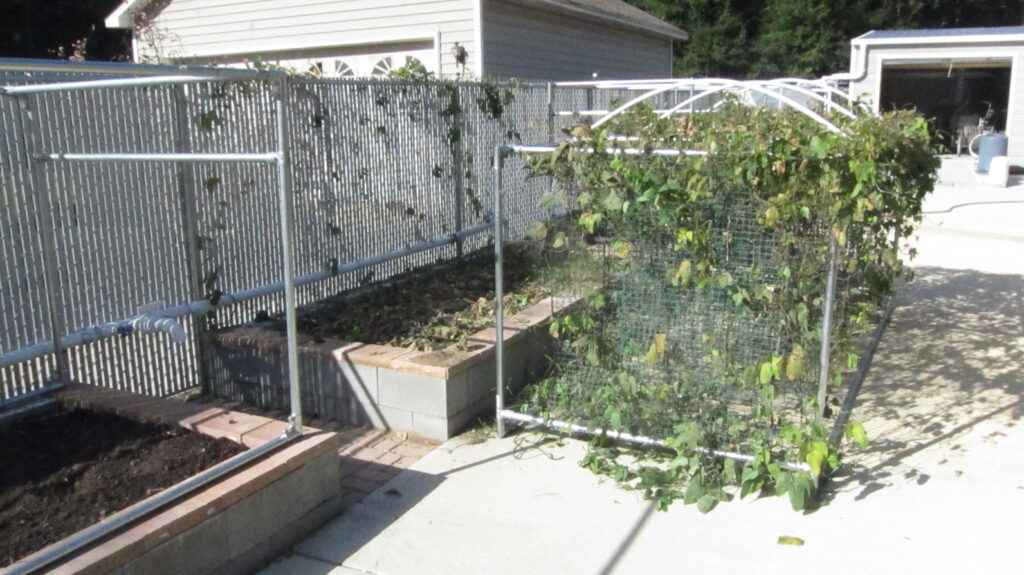
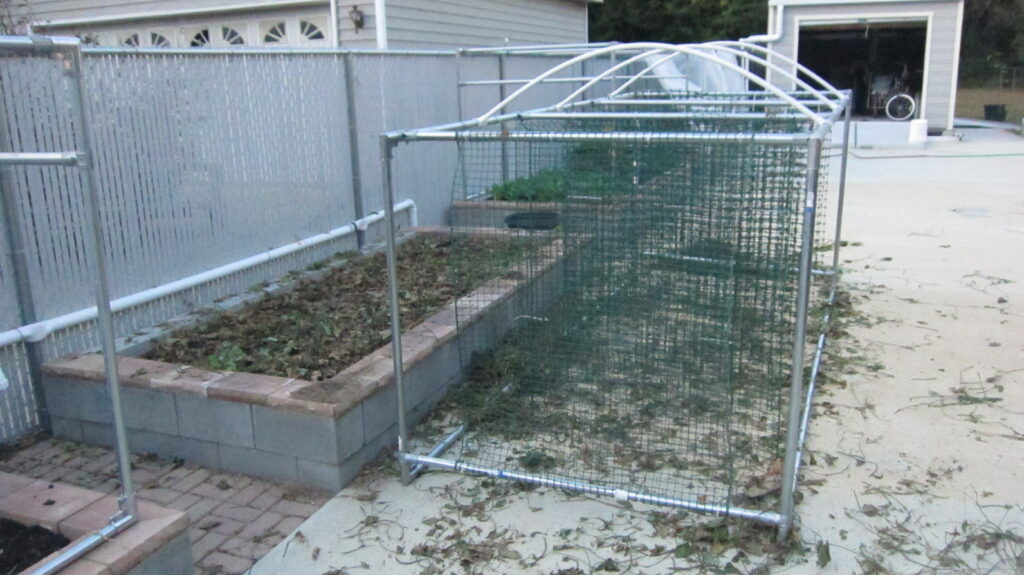
The raised beds on the West fence line are ready for planting and the new cover frames (for each bed) have been constructed. One of our best designs, the cover frames can be easily reconfigured to serve the needs of different plant types. The first frame (nearest in the photo) is equipped with six green plastic trellis screens for growing long beans. Each frame can be covered with sun cloth to provide shade for the plants, or it can be wrapped in clear plastic to create a mini-greenhouse for Winter. The plastic is held in place by PVC clamps that we make ourselves. The frames are not anchored to the beds. This makes it easy to tilt the frame off the bed at the end of each growing cycle to replenish the compost and prepare the bed for the next cycle. When anchoring is needed, we used grooved concrete blocks (positioned over the bottom frame members) to hold the frames in place.
Read more about EBG’s Raised Garden Beds (including the Bottom Line).
Garden Photos 063015

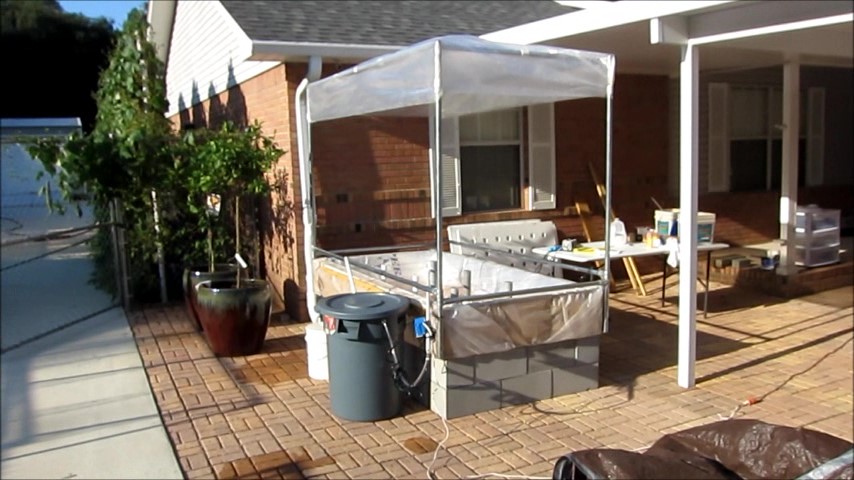
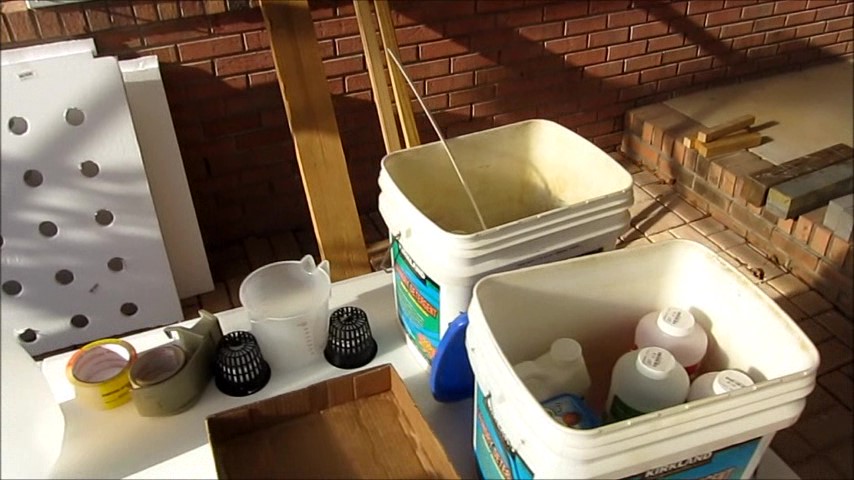
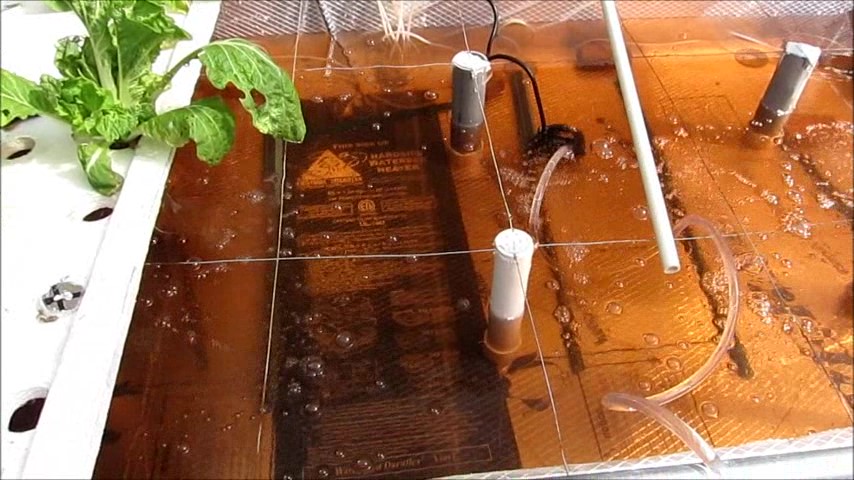
First Kratky Hydroponic Test 062515
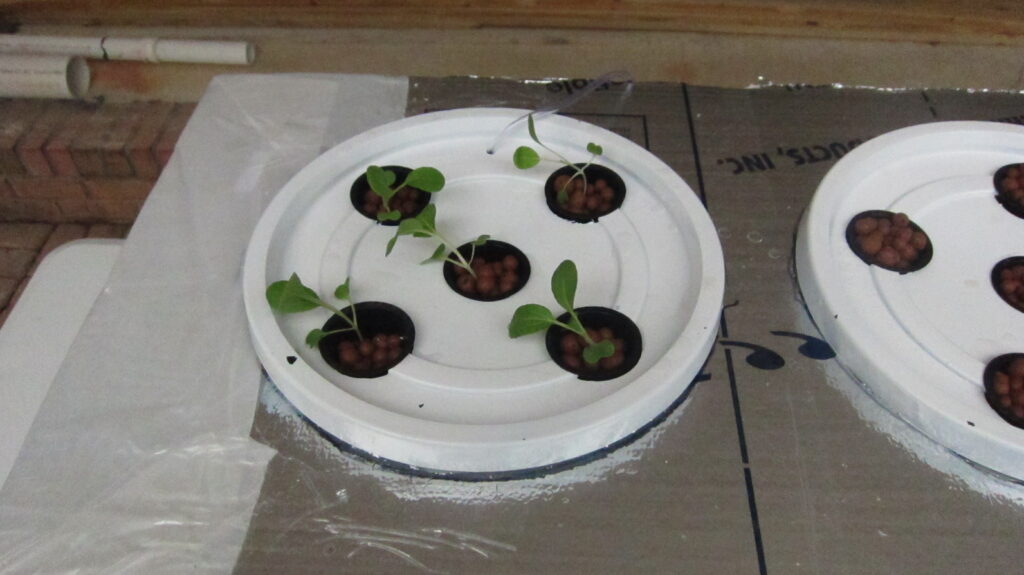
Our first tests of a simple Kratky hydroponics system ran for two full cycles (about 2 months). DWC (deep water culture) Kratky systems require little more than water, nutrients, aeration, and the ability to maintain a stable temperature (filled with water and nutrients, the buckets sit in an insulated container that provides a stable temperature). A small aquarium air pump is used to provide aeration.
Read more about EBG’s Hydroponic Tanks (including the Bottom Line).
Garden Frames 063015
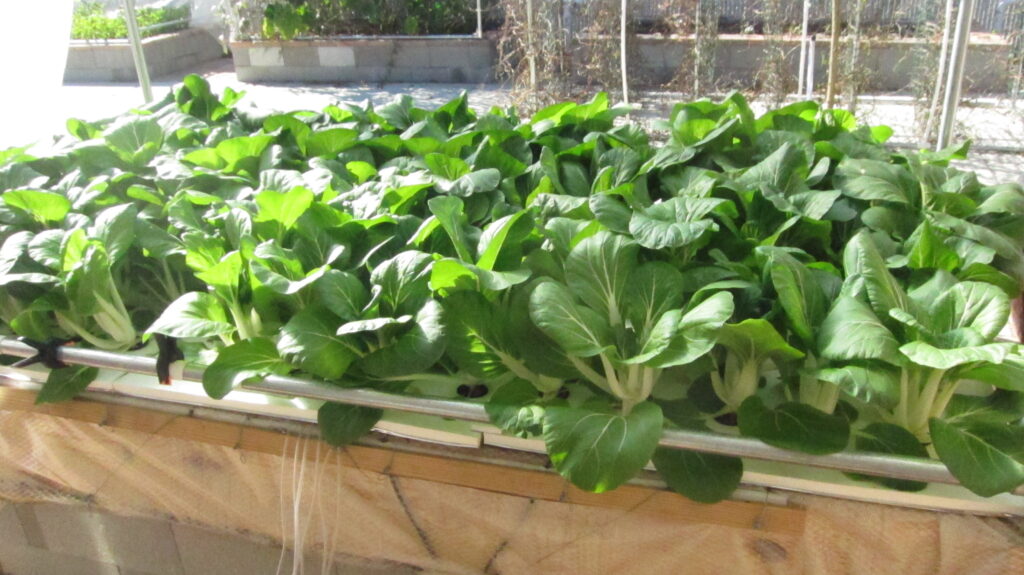
The raised beds (above left) are covered with Bok Choi and Asian Long Beans (on trellises). Sun cloth is used to protect the baby Long Bean plants (above right).
Read more about EBG’s Raised Garden Beds (including the Bottom Line).
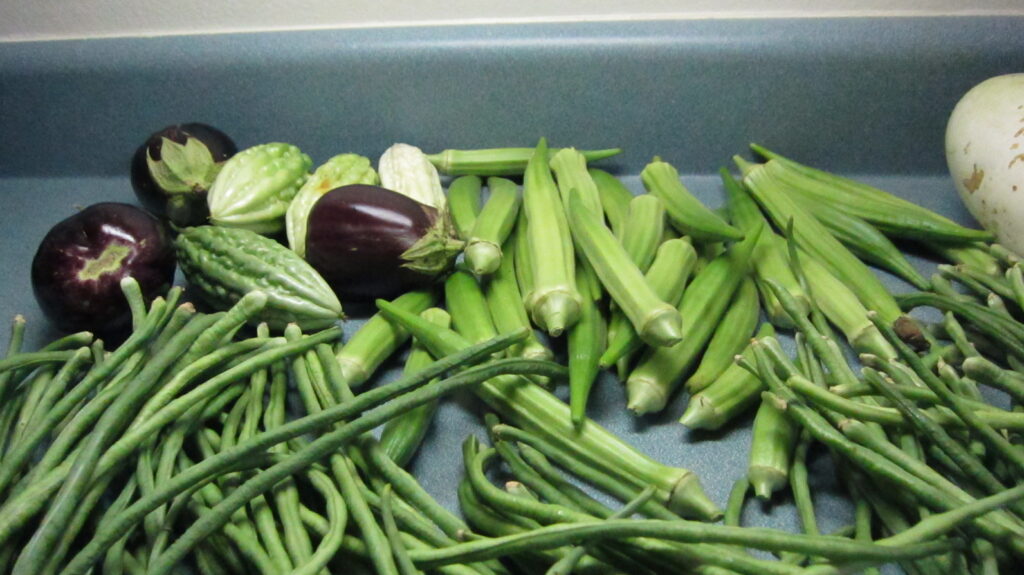
Garden Harvest 071515


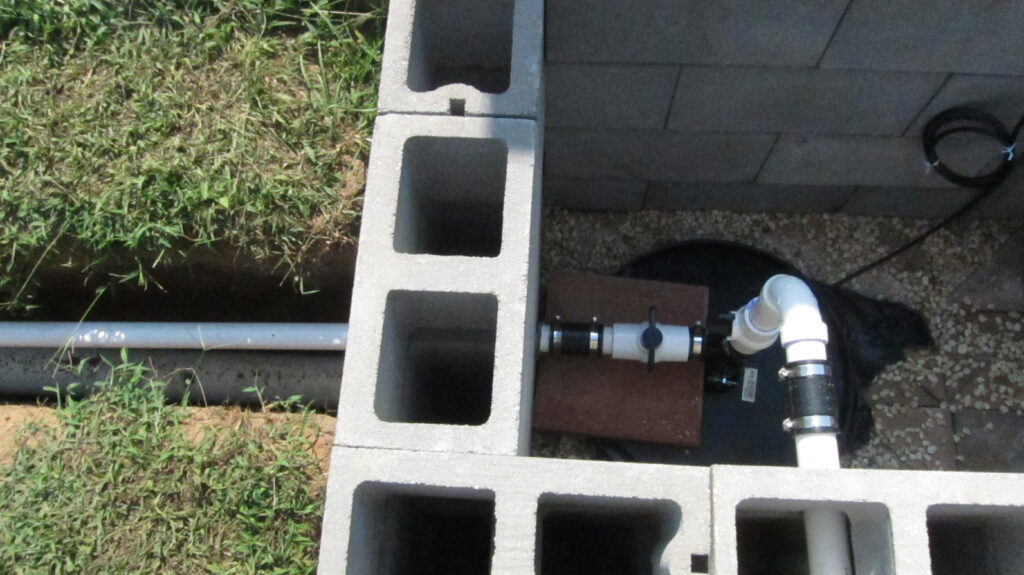
Rear Rainwater System 071515 (link)
One of our first projects after relocating to Florida from drought-stricken Northern California was to design and install a rainwater collection system. We captured runoff from every inch of roofing and piped it underground to front and rear pumping stations and tank banks.
After the initial installation, we increased the capacity to 5,000 gallons. Modular components, balancing valves, a 2” distribution system, and a 1-hp pump were employed to get the job done. The verdict? We can now water all of our raised beds for up to 45 days without rain. Our plants have been thriving (no chemicals) for nearly two full seasons. And, we have enough water to supply up to four large (4’x16′) hydroponic tanks.
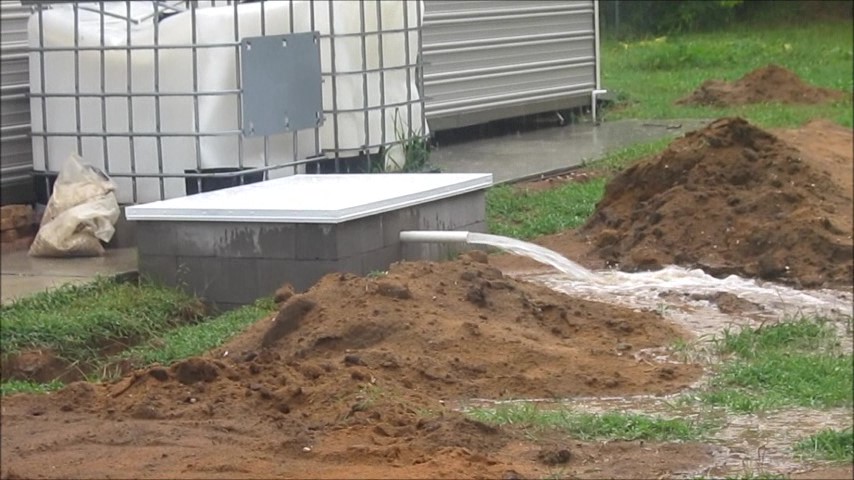
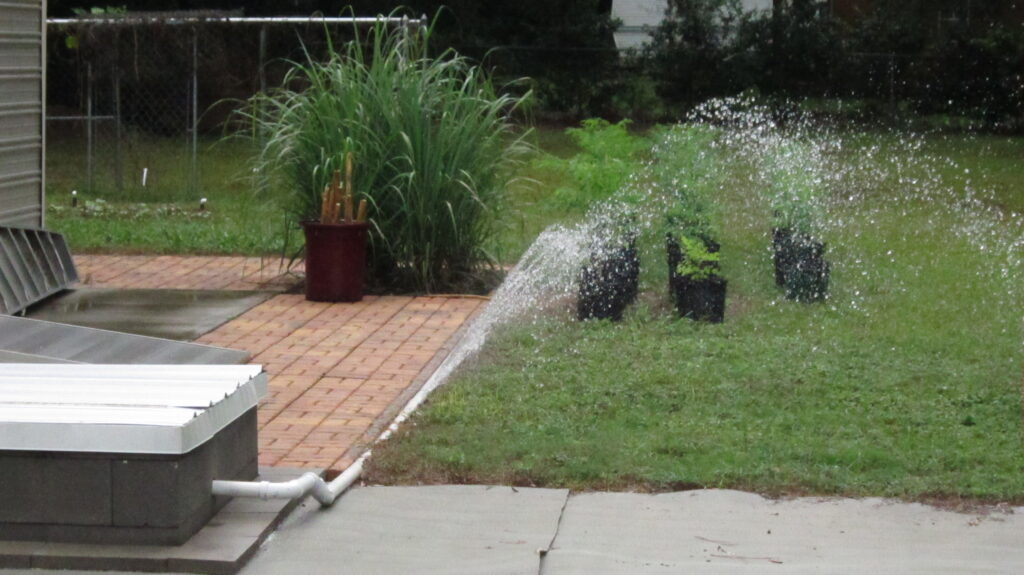
The first test (and the overflow test) of the rear pumping station is shown above. The biggest unexpected challenge with the collection system was designing overflow diverters to offload surplus water when the tanks are full. Although imperfect, the solution was a “waterfall” (actually three waterfalls).
Read more about EBG’s Rainwater Collection and Distribution system (including the Bottom Line).
Raised Garden Beds 071515 (link)
Read more about EBG’s Raised Garden Beds (including the Bottom Line).
Kratky Pots Day-31 of Test-1 072515 (link)
Testing of the 5-gallon Kratky pots went well. Based on the results, we decided to scale up to a 4’x8′ tank.
Read more about EBG’s Hydroponic Tanks (including the Bottom Line).
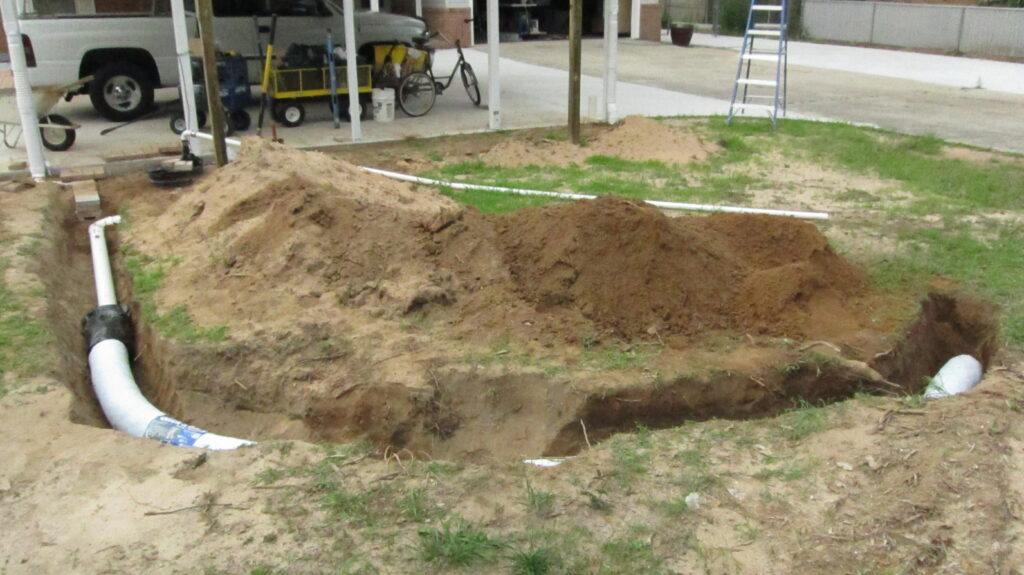
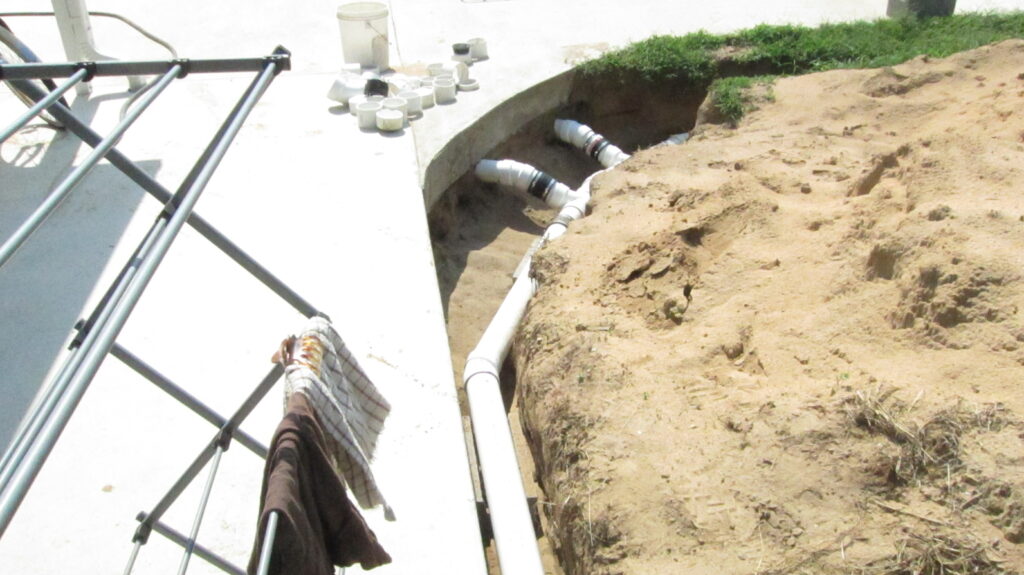
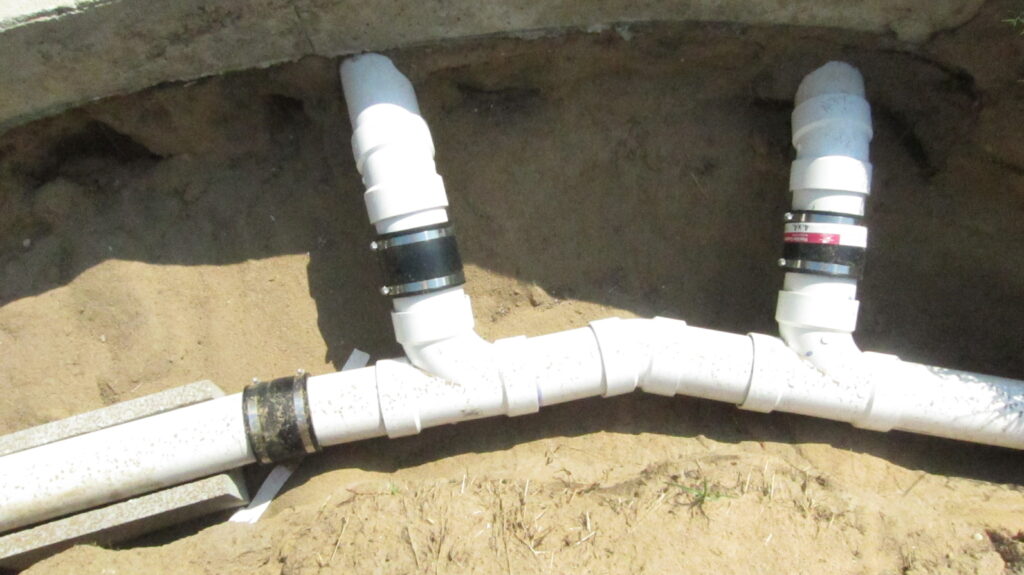
Rear Rainwater Piping to Tanks 072915
.
.
.
.
The trenches and plumbing for the rear pumping station is shown above.
Read more about EBG’s Rainwater Collection and Distribution system (including the Bottom Line).
.
.
.
.
.
.
.
.
North East Patio Build 080115
Generac Installation 080415 (link)
Read more about EBG’s Generac Whole House Electric Generator (including the Bottom Line).
Paving the East Strip 081315
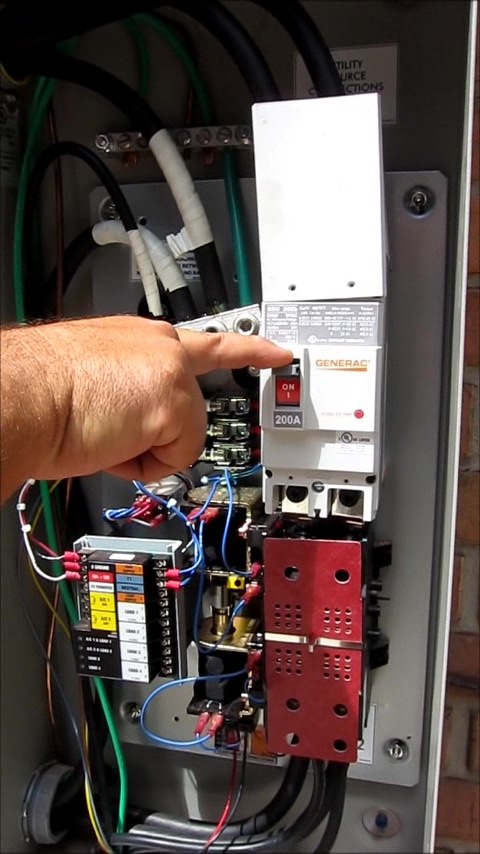
Generac ATS Video 083115 (link)
.
.
.
Watch the video Generac automatic transfer switch explained.
.
.
.
.
.
.
.
Hydro Tank #1 090715 (link)
Hydro Tank #1 is being cycled for the first time using adhoc processes that will soon be perfected, to reduce the labor required for cycling and re-planting.
Read more about EBG’s Hydroponic Tanks (including the Bottom Line).

Tree Removal 091715
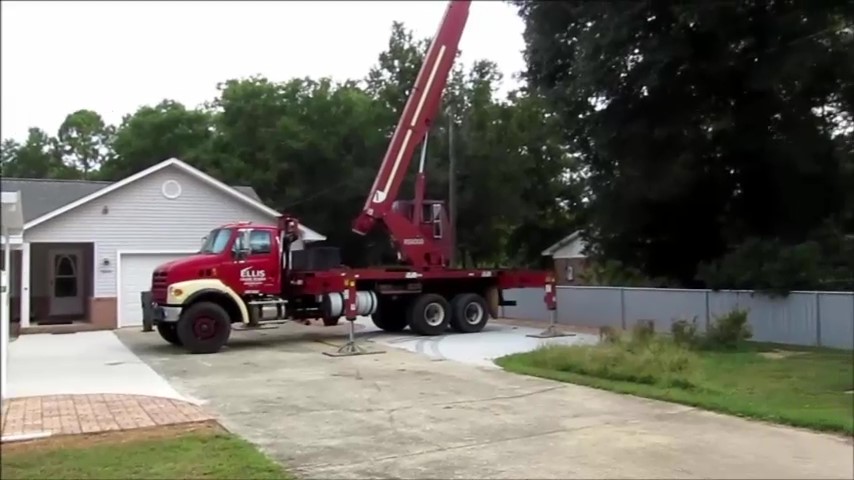
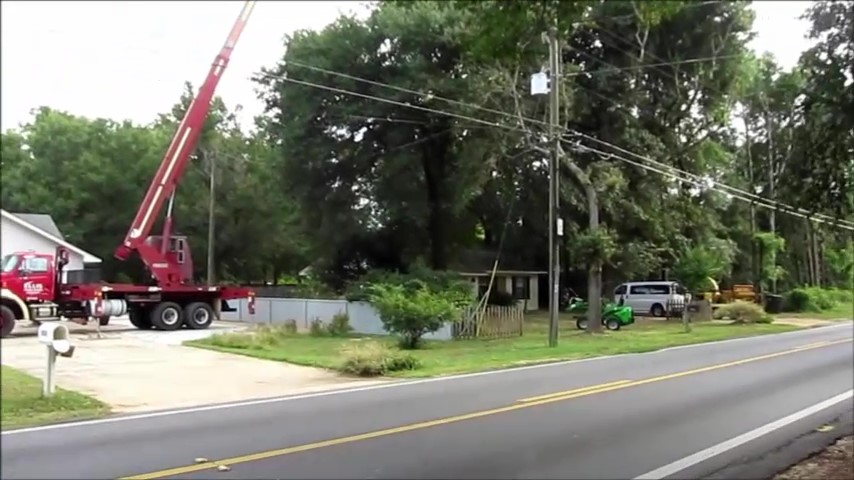
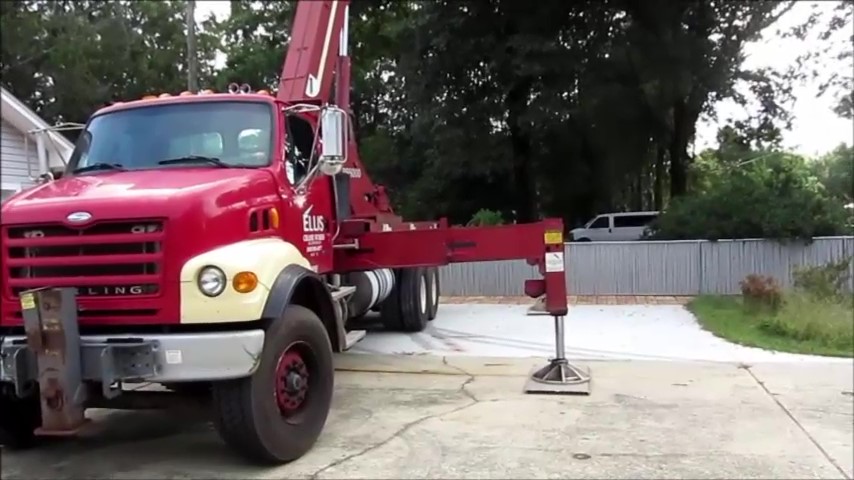
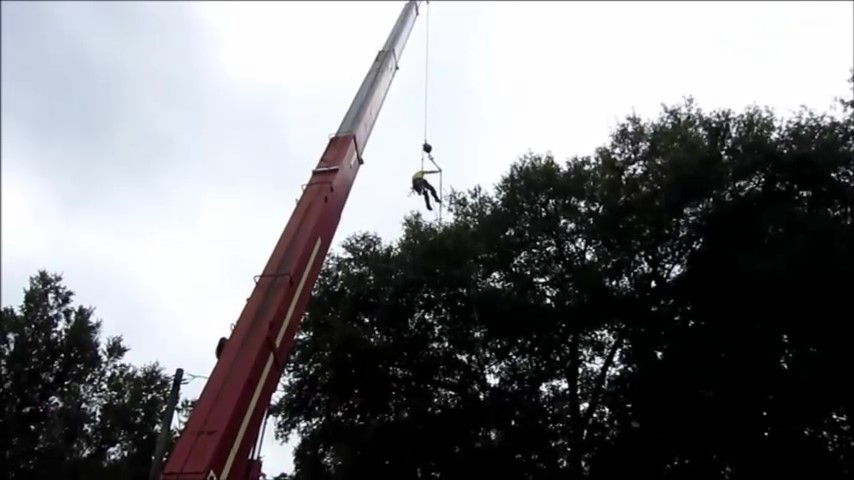
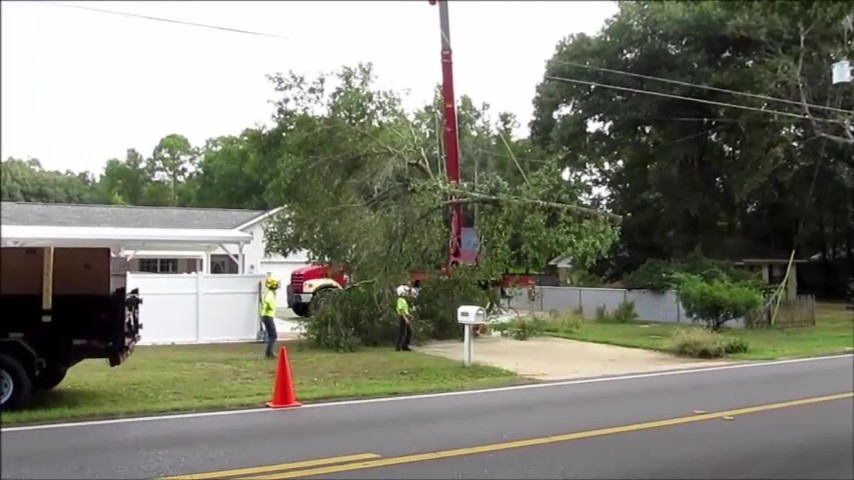
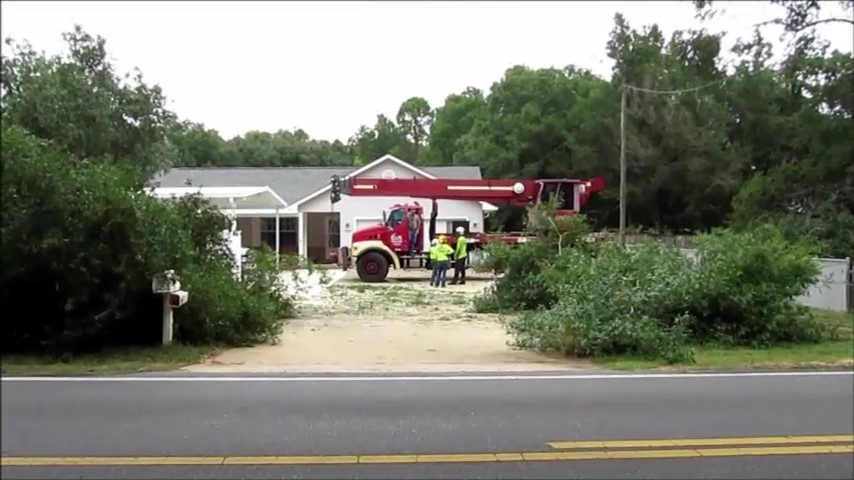
Few events are as exciting as a giant crane removing a huge tree from the neighbor’s front yard. In this case, we paid to remove a Laurel Oak that was positioned to fall on our house in the first heavy storm (with the neighbor’s permission).
Hurricane Covers 100115
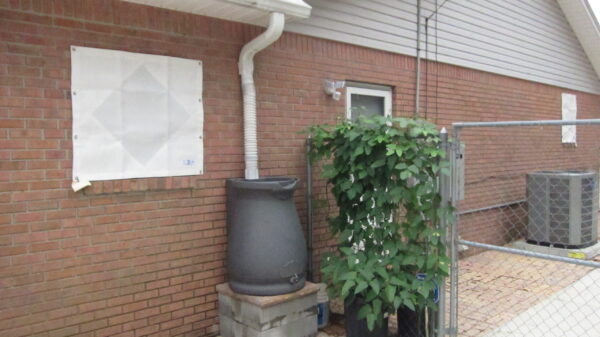
Fabric storm covers are great but steel covers are better. We paid to have the fabric covers installed so that we could use them (and the mounting studs) as patterns for the steel covers that we made ourselves.
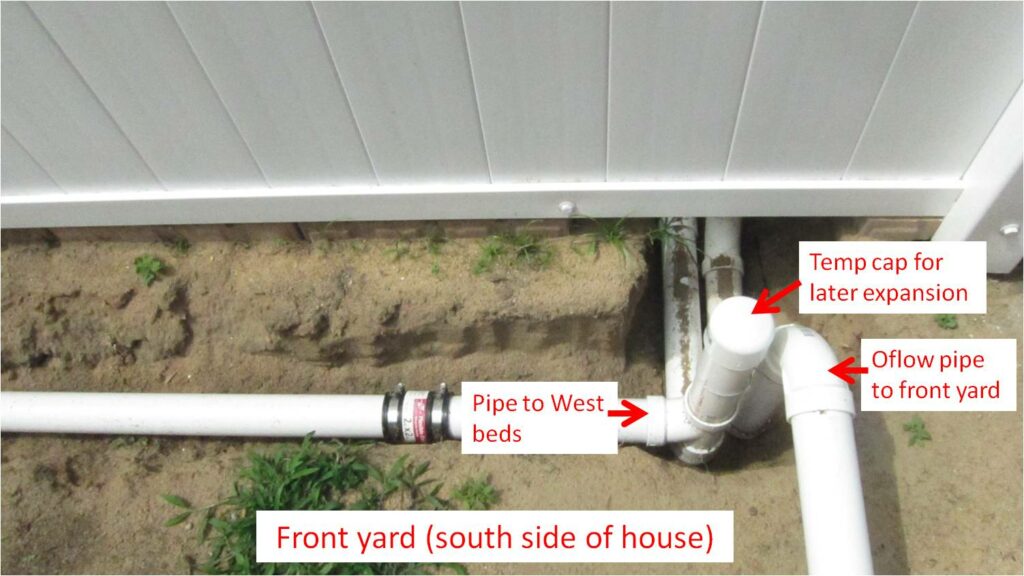
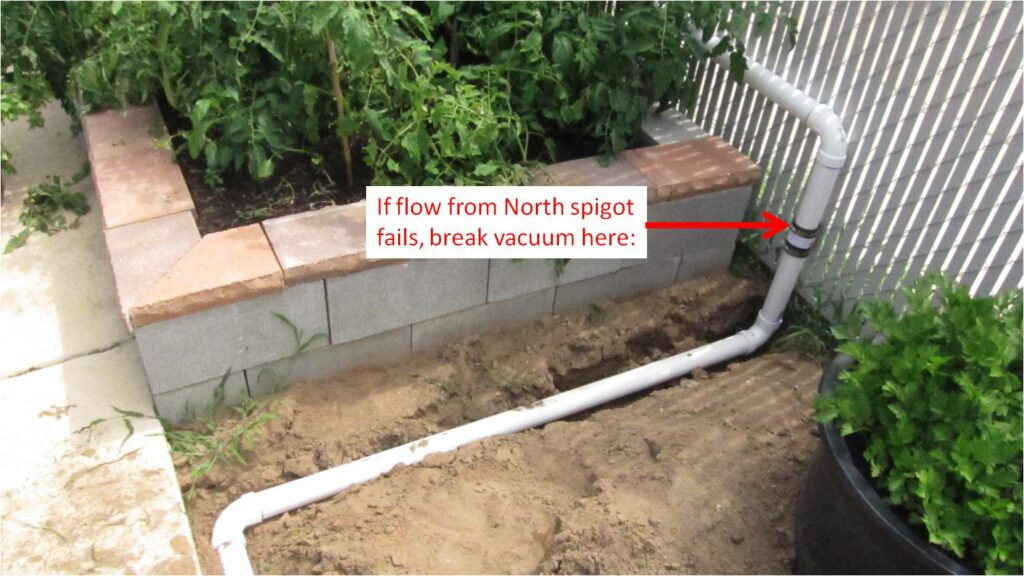
Rainwater Distribution Front 101615 (link)
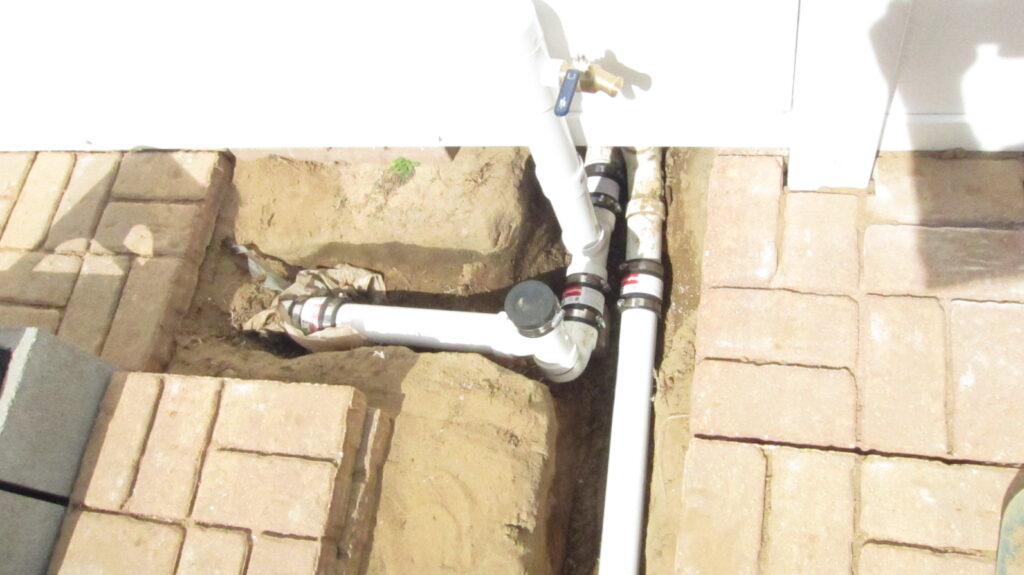
Except for the 2″ line connecting the front tank back to the rear tank bank (the horizontal pipe at the left of the photo above), this plumbing (the riser with boiler-drain faucet, the black capped pipe stub, and the overflow pipe to the front waterfall) is completely unnecessary (sigh).
Read more about EBG’s Rainwater Collection and Distribution system (including the Bottom Line).
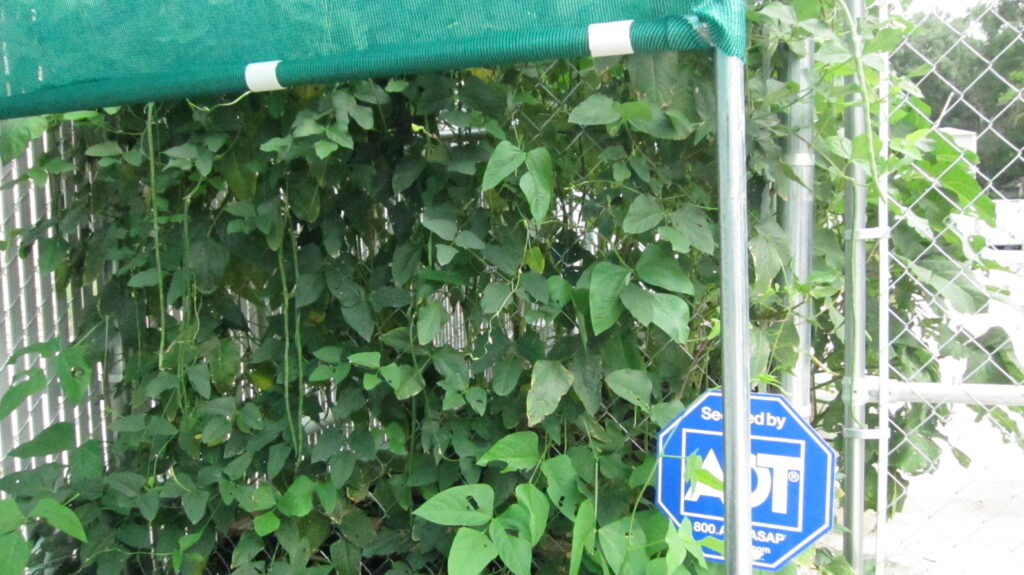
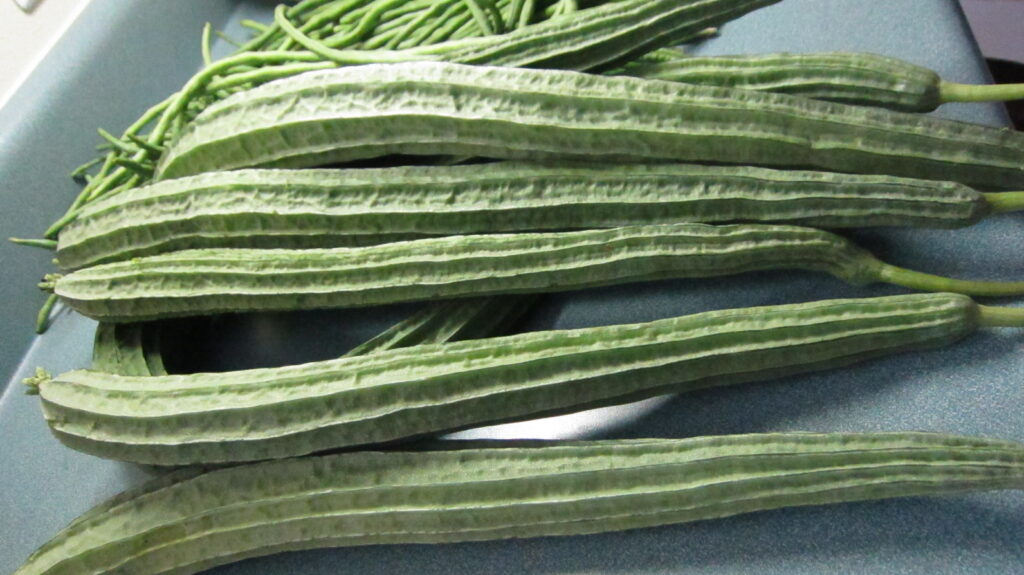
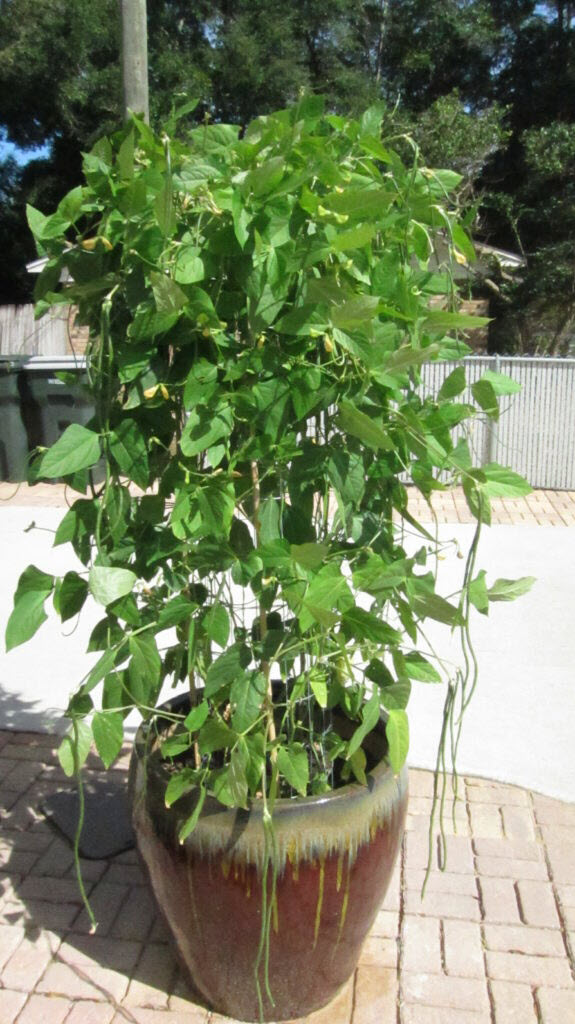
Yardlong Beans In Pots 101615
.
.
.
Yardlong bean, known by many names (including Chinese long bean, asparagus bean), is an annual vegetable grown for its long, edible pods.
A nutritious staple in many Asian dishes, this plant and can liven up your garden and culinary prowess alike.
.
.
.
.
.
Hydro Tank #1 Day 33 101115 (link)
.
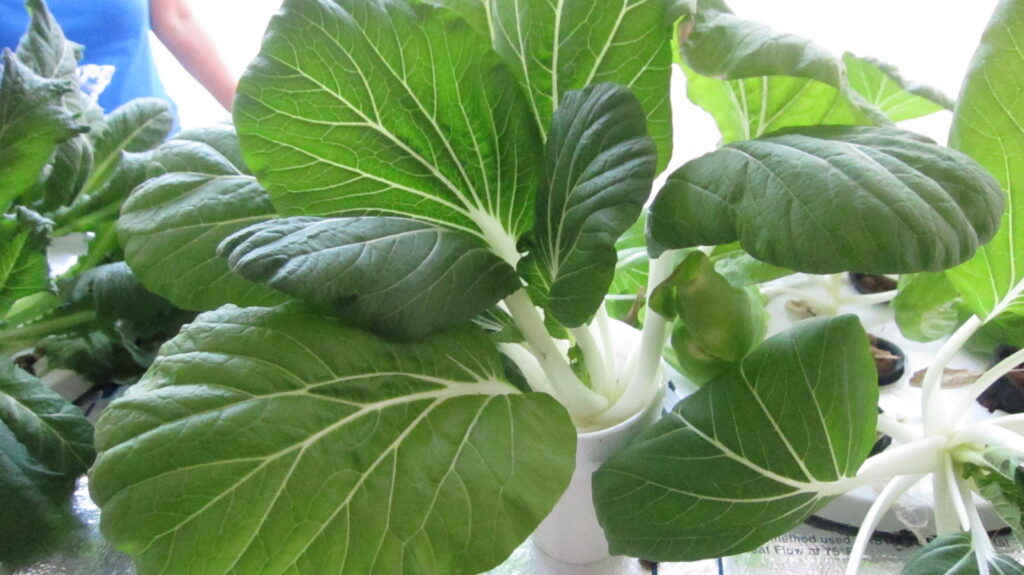
The Bok Choi in Hydro Tank #1 is ready for harvest after a 33-day growing cycle.
Read more about EBG’s Hydroponic Tanks (including the Bottom Line).
.
.
.
Garden Photos 101115
Hydro Tank #1 and the West Trellis can be seen in the photo above left. Except for the pumping station and a few pots, the rear garden has not yet been constructed (above right).
Tank #1 Water Change 102815 (link)
The original gen-1 design of our hydroponic tanks is shown here. Note the wire and PVC post raft supports. This 4’x8′ tank was constructed with 2″x12″ walls.
Read more about EBG’s Hydroponic Tanks (including the Bottom Line).
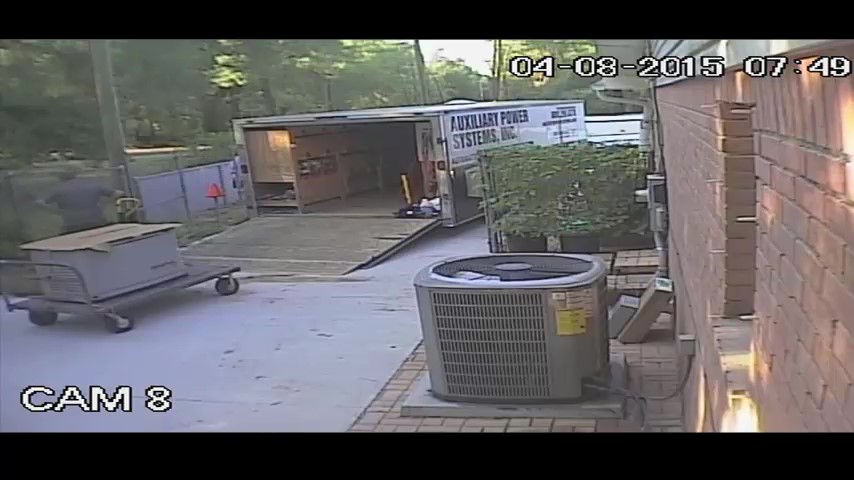
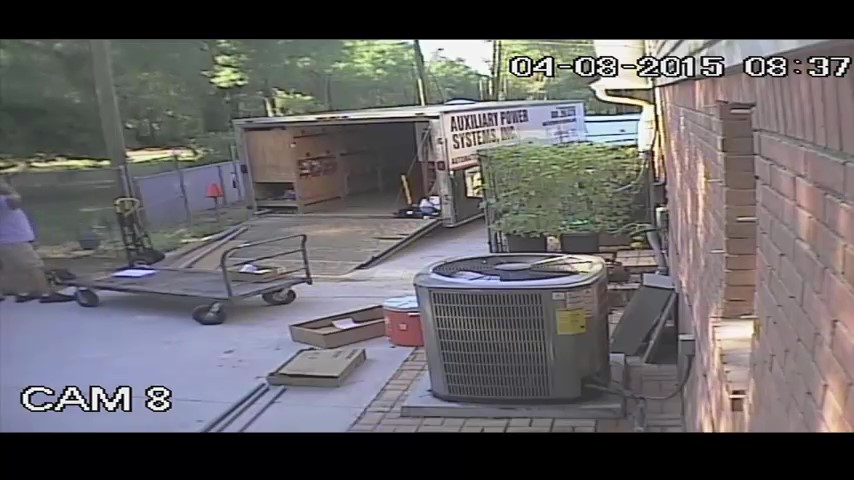
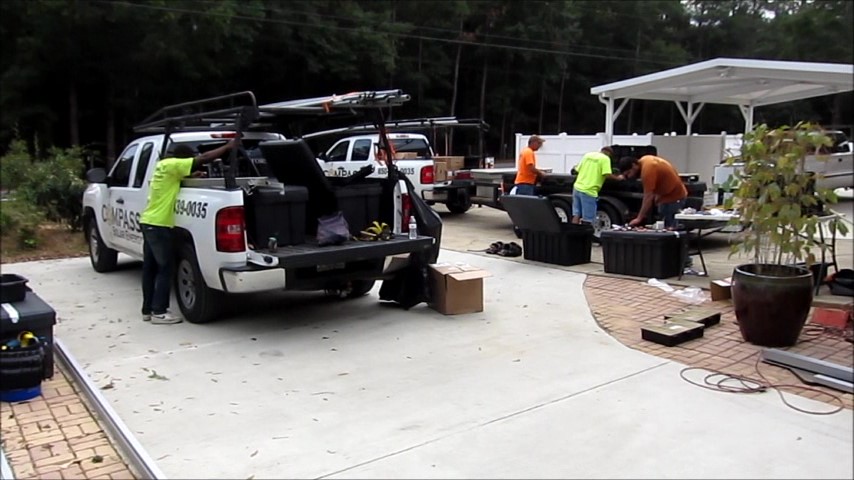
Compass Solar PV/Hot Water Installation 111615 (links)

The Tier-2 solar PV and hot water system went up in less than a week, thanks to the outstanding work of Compass Solar.
Read more about EBG’s Solar PV / Hot Water (including the Bottom Line).
.
.
.
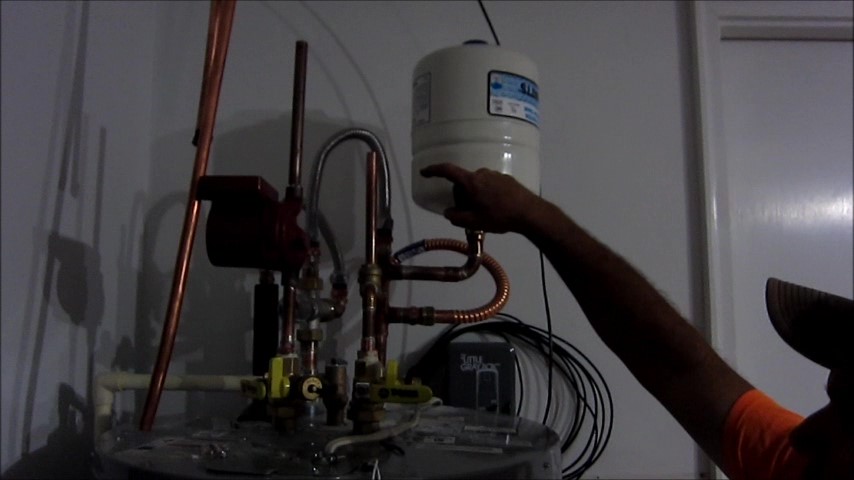
This image (above right) shows the top of new 50-gallon solar hot water tank. Watch a video that describes its operation, including instructions on how to drain the unit for maintenance.
Hydro Tank #2 Build 111615 (link)
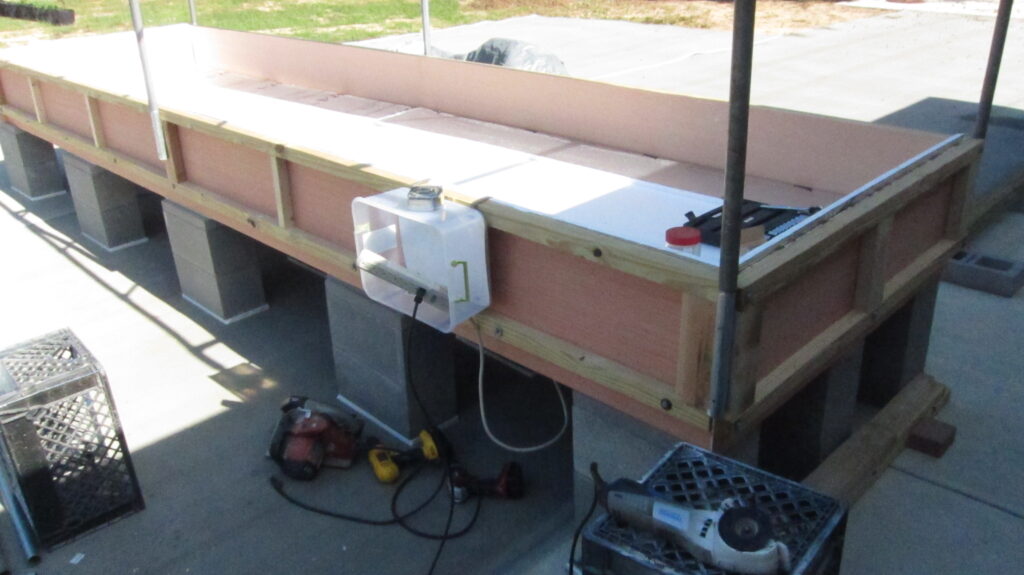
The gen-2 design features a 4’x16′ size, lightweight walls, updated raft supports, and a rain cover fashioned from BillboardVinyls.
Read more about EBG’s Hydroponic Tanks (including the Bottom Line).
Bean Frame Cleaning 112715 (link)
The cover frame for Raised Bed #3 is been removed for cleaning as this bed is cycled (prepared) for replanting.
Read more about EBG’s Raised Garden Beds (including the Bottom Line).
Harvesting Hydro Tank #1 120315 (link)
Read more about EBG’s Hydroponic Tanks (including the Bottom Line).
Next up, Year 3 (2016).